
How to Choose a CapCut Template That Fits Your Video
The right CapCut template can save time, but only if it fits the video you are actually making. A fast travel montage template may look great in preview and still ruin a product demo, tutorial or talking clip because the timing, text areas and media slots were built for a different job.
Most bad template choices happen before the edit begins. The preview feels polished, the music sounds current and the transitions look clean, so it is easy to ignore practical details like aspect ratio, clip length, photo count, caption space and whether the template depends on effects you do not want.
Before opening the editor, look at the template as a structure rather than a finished style. A CapCut template is the right fit when it supports your footage, gives you enough room to tell the story and does not force you to cut important moments just to match a trend.
Start with the job your video needs to do
Every strong template choice starts with intent. Are you trying to make someone laugh, explain a process, show a transformation, sell a product, recap an event or keep viewers watching a longer story? Those goals need different pacing and different visual priorities.
The best CapCut template is not the one with the trendiest preview; it is the one that supports the action you want viewers to take. A product video needs clear shots and readable benefits. A recap can handle faster cuts. A tutorial needs breathing room between steps. A before and after edit needs a clean reveal, not five layers of effects hiding the comparison.
If you are unsure, write one plain sentence describing the finished video. For example: I want to show how this room changed after a weekend makeover. That sentence gives you a filter. Any template that buries the before shot, rushes the reveal or leaves no room for labels is probably the wrong choice, even if it looks impressive.
Match the format to where people will watch
Template previews often look good because they are built for a specific viewing environment. A vertical 9:16 layout is usually the safest choice for TikTok, Instagram Reels and YouTube Shorts. A horizontal 16:9 layout fits standard YouTube uploads, tutorials, screen recordings and many presentation-style edits. Square templates can still work for some social feeds, but they may feel cramped when text and multiple clips compete for space.
Format also affects how your footage will be cropped. If your original clips were filmed horizontally and the template is vertical, faces, products or background details may get cut off. If your footage is vertical and the template is horizontal, you may end up with blurred side fills or empty space unless you reframe each clip carefully.
For longer uploads, template selection is only one part of the edit. If your project is closer to a full video than a short social post, EditFixer has a separate guide on how to use CapCut to edit YouTube videos from import to export.
Check the structure before the style
After you know the platform and goal, look at the template structure. Count how many photos or clips it needs, how long each slot lasts and whether the order makes sense for your story. A CapCut template built around ten fast image cuts will feel awkward if you only have three strong clips. A slow cinematic preset may drag if your content is a quick announcement.
Media slots matter because they control what the viewer sees first, what gets emphasized and what gets skipped. If the most important part of your video happens in a long clip, avoid templates where every slot lasts less than a second. If your video depends on several details, avoid templates that focus on one hero shot and treat the rest as decoration.
| Video type | Template traits that usually fit | Template traits to avoid |
|---|---|---|
| Product showcase | Clear media slots, readable text, steady reveals | Heavy filters, crowded overlays, very fast cuts |
| Travel or event recap | Multiple short slots, rhythmic cuts, motion transitions | Long static holds, too much explanatory text |
| Tutorial or how-to | Longer clip holds, caption space, simple transitions | Flash effects, rapid beat cuts, tiny text areas |
| Before and after | Two strong comparison slots, reveal transitions, label space | Random clip shuffles, effects that hide the change |
| Talking clip | Subtle movement, caption area, room for face framing | Music-led timing that competes with speech |
Use the preview as a map. If you cannot clearly tell where your key moment belongs, the template will probably slow you down instead of helping.
Evaluate pacing, audio and text together
Pacing is not just about speed. It is the relationship between cuts, music, motion and how much information appears on screen. A template can be fast and still readable if it uses simple visuals. Another can feel chaotic even at a slower pace if the text, effects and zooms all compete at once.
Audio is often the hidden reason a template feels right or wrong. Beat-synced presets work best when your video is visual and mood-based. If you need voiceover, dialogue or screen-recorded instructions, choose a calmer layout where the music can sit in the background. A CapCut template that looks perfect with its original song may feel completely different once you replace the audio.
Text space deserves the same attention. Look for templates where titles, captions and labels sit on clean areas of the frame. If the text floats over busy footage or moves too quickly, viewers may miss the message. This matters even more for product details, prices, steps, names, dates and calls to action.
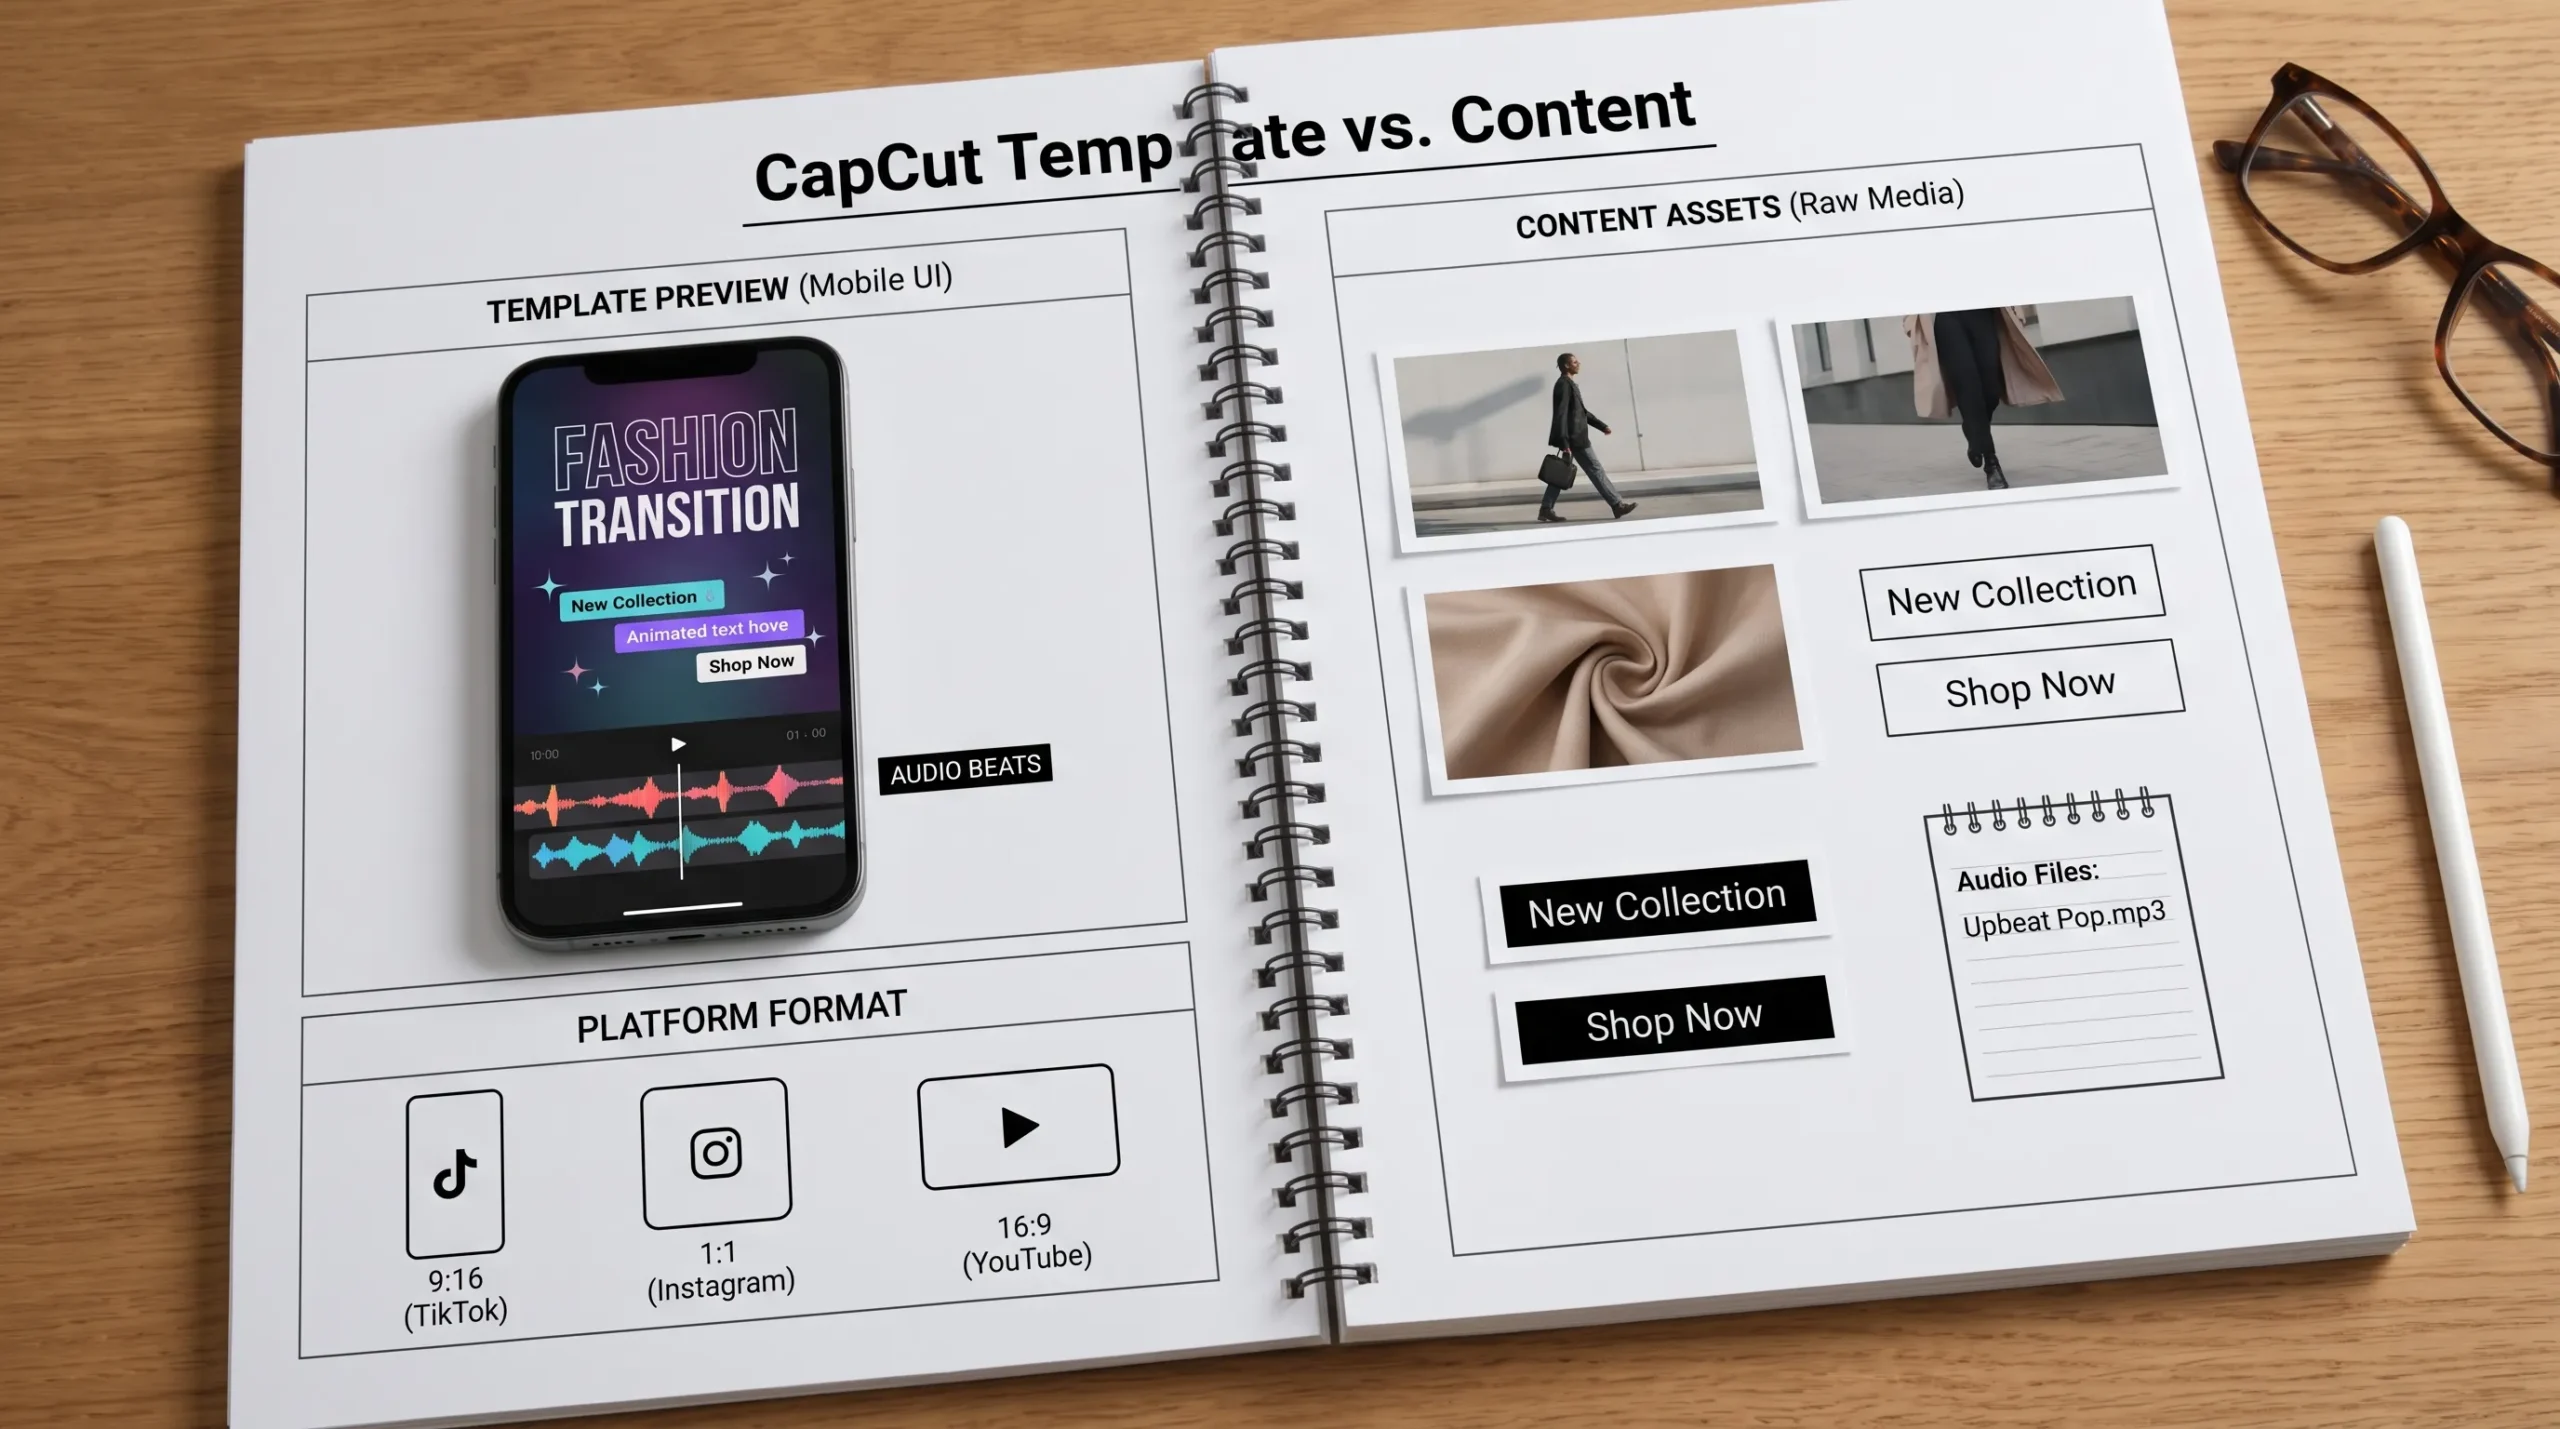
How to evaluate a CapCut template before editing
Preview the full template before importing all your media. Do not judge only the first second, because many templates start with a strong hook and become less practical later. Watch for sudden flashes, forced zooms, non-removable stickers, locked text, Pro labels and empty slots that would make your footage feel stretched.
A CapCut template with flexible placeholders is usually safer than one that depends on a very specific trend. Flexible templates let you replace text naturally, adjust clip order, crop faces correctly and keep your own visual style. Trend-heavy templates can still work, but they age faster and may make unrelated footage feel forced.
If you are editing on a computer, remember that desktop workflows can behave differently from mobile. For the actual replacement, text editing and export process, use this walkthrough on how to use templates on CapCut Desktop so you do not have to figure out each step after choosing the template.
A quick test helps before you commit: place your strongest clip into the most important slot and check whether the subject is visible, the timing feels natural and the text remains readable. If that one test clip already needs heavy fixing, the rest of the edit will probably need even more work.
Avoid common mismatch problems
Some template issues are not creative problems. They are compatibility, asset or export problems. If a CapCut template includes Pro effects, premium transitions or branded ending screens, your final export may not look the way you expected. Some templates also include overlays that feel like watermarks even when the app itself is not adding a watermark to every export.
Before publishing, preview the final few seconds and check every corner of the frame. If something appears after export, compare the timeline with the preview and look for template outros, hidden stickers, Pro elements or branded overlays. EditFixer explains the most common causes in this guide to why a CapCut export has a watermark.
There are also practical limits around regions, devices and account access. A template you saw on someone else's phone may not appear in your app, may load differently on desktop or may use features that are not available for your account. Choosing a simpler template can reduce those risks, especially if you are working on a deadline.
A quick decision framework
Before you save a CapCut template, ask a few direct questions. If the answer to most of them is yes, the template is likely a good fit. If you keep finding exceptions, pick a simpler option and spend your editing time improving the footage instead of fighting the preset.
- Does the first second make sense for my topic, not just for the original preview?
- Does the template have enough media slots for my strongest clips or photos?
- Will the aspect ratio fit the platform where I plan to publish?
- Can viewers read the text without pausing?
- Does the audio style support my message rather than compete with it?
- Can I remove or replace elements that do not match my brand or story?
This simple checklist prevents the most common mistake: choosing a template because it looks good with someone else's footage. Your video should still feel like yours after the template is applied.
Frequently Asked Questions
What is the easiest way to tell if a template fits my video? Check whether your strongest clip works in the main placeholder without awkward cropping, rushed timing or unreadable text. If the best clip feels wrong, the full edit will likely feel wrong too.
Can I edit a CapCut template after choosing it? Yes, many templates let you replace media, adjust text, change audio and tweak some elements. However, some effects, timing choices or overlays may be harder to change depending on the template and device.
Should I choose trending templates or simple templates? Trending templates can help short social videos feel current, but simple templates are usually better for tutorials, product explainers, client work and evergreen content. Choose based on the message, not just the trend.
Why does my footage look cropped after using a template? The template aspect ratio or placeholder framing may not match your original footage. Reposition the clip if possible, or choose a template designed for the same format you recorded in.
Keep choosing templates with intent
A template should remove repetitive editing work, not decide the whole video for you. When you judge the goal, format, structure, pacing, audio and text before editing, you avoid most of the fixes that make template projects frustrating.
Use the preview for inspiration, but let your footage make the final decision. The right choice is the template that makes your message clearer, faster to edit and easier for viewers to understand.


