
How to Use CapCut to Edit YouTube Videos
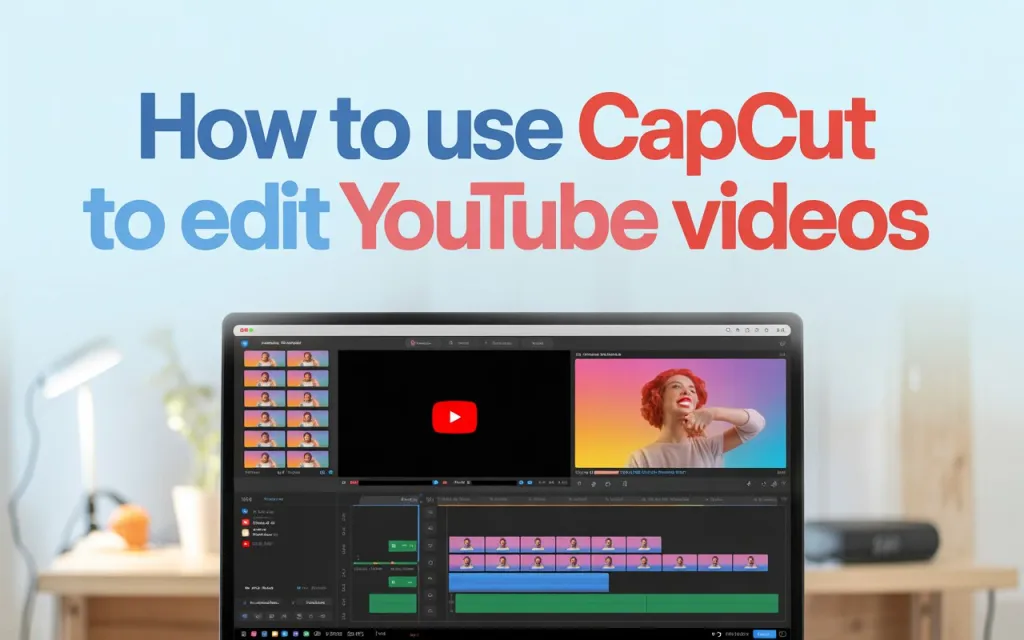
You don’t need Premiere Pro or Final Cut to put together a solid YouTube video. CapCut covers most of what a growing channel actually needs — multi-layer editing, keyframes, auto captions, color grading, and a handful of AI tools — for free, on either mobile or desktop. This guide walks through a full edit from raw footage to export.
Why CapCut Works Well for YouTube Editing
It’s free and approachable enough for a first-time editor, but its multi-layer timeline still supports the transitions, overlays, text layers, and audio blending a more produced video needs. Auto captions save a meaningful amount of manual typing time on both Shorts and long-form videos. A handful of AI tools — background noise removal, audio enhancement, upscaling — cover common post-production needs without extra software, and it runs on both phone and PC with export quality up to 4K 60fps.
Step-by-Step Guide
1. Import your raw footage. On desktop: open CapCut Desktop, start a new project, and drag your clips, audio, and images into the media bin before dropping them onto the timeline. On mobile: tap New Project and select your clips directly from your gallery. Import everything you plan to use upfront — CapCut keeps imported media organized so trimming and rearranging later is easier.
2. Cut, trim, and arrange your clips. This is the core of the edit. Useful tools here include Split (cutting at a specific point), Delete, Speed Control (for b-roll or slow motion), Ripple Trim (which closes gaps automatically as you cut), and AI Cut Out Silence, which is particularly useful for tutorial or commentary-style videos where dead pauses add up. A reasonable workflow is to review your footage once, cut mistakes and retakes, arrange clips into story order, then tighten pacing on a second pass.
3. Add transitions. CapCut includes Fade, Glitch, Zoom, Camera Shake, Whip Pan, and Flash, among others. Fade tends to work well between ordinary clips, while Zoom or Whip Pan suit higher-energy content like gaming or vlogs better. Overusing heavier transitions tends to read as messy rather than polished, so it’s worth using them sparingly.
4. Add text, titles, and captions. Title text (using templates, motion text, or a minimal font style) works well for intros, topic headings, or marking tutorial steps. Lower-thirds — placed bottom-left or bottom-right — are a common spot for your name, social handles, or a subscribe reminder. For captions, Text → Auto Captions will generate subtitles automatically once you select your language; from there you can adjust font, color, animation, and placement. Captions genuinely help with watch time and accessibility for viewers who aren’t native speakers of your video’s language.
5. Add music and sound effects. You can pull from CapCut’s built-in copyright-free music library, use your own tracks, or draw from YouTube’s Audio Library. As a general starting point, background music sitting around -25 to -30 dB tends not to compete with voice — calmer music suits educational content, more energetic tracks suit vlogs, and cinematic scoring suits narrative or storytelling videos. CapCut also includes sound effects (clicks, whooshes, pops, typewriter, cartoon effects) that are useful for emphasizing cuts and transitions.
6. Color grade. For a natural look, a modest bump to sharpness, brightness/contrast, and saturation, with highlights pulled back slightly if they’re blown out, usually does the job. For a more cinematic look, a teal-and-orange color style, a slight reduction in exposure, added contrast, and a touch of film grain are common choices. Grading can be applied to the whole video or to selected clips only — useful if you’re mixing vlog footage, gaming b-roll, and more cinematic shots in the same edit.
7. Add voiceover, if needed. Go to Audio → Voiceover, press and hold to record, then adjust volume and apply noise reduction. CapCut includes a few EQ presets (podcast, deep, clean styles) that can help a recorded voiceover sound more consistent. CapCut does offer AI voice effects, but for most YouTube content your own natural voice will perform better with viewers.
8. Add b-roll and overlays. Screenshots, gameplay clips, product close-ups, stock footage, GIFs, or background footage all help keep a video visually engaged. Place these on upper layers and use masking, blend modes, or picture-in-picture as needed to combine them with your main footage.
9. Review before exporting. Worth checking specifically: no audio clipping, text stays readable throughout, transitions match the pacing of the cut, color grading looks natural rather than overcooked, there are no accidental gaps in the timeline, captions are synced correctly, and there’s no copyrighted audio that could trigger a claim.
10. Export. For a standard video: 1080p or 4K resolution, 30 or 60fps, a bitrate somewhere in the 20–40 Mbps range, MP4 format with H.264 codec. For gaming content or Shorts: 60fps with a bitrate closer to 40 Mbps at 4K tends to hold up better under fast motion. From there, export and upload directly to YouTube.


