
How to Create a Ghost Effect in CapCut
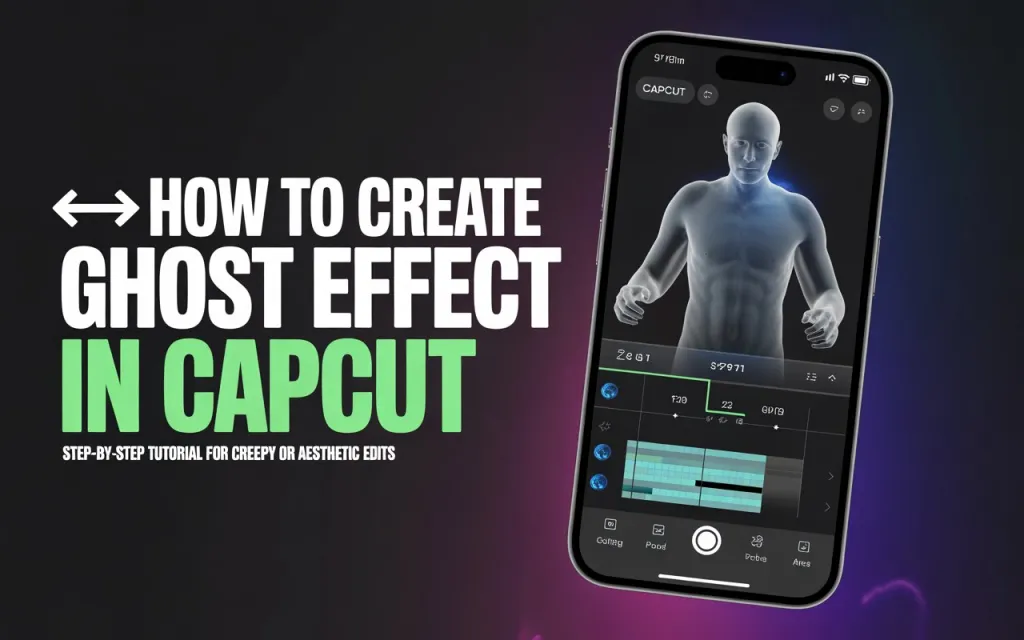
The Ghost effect in CapCut creates a see-through duplicate of your subject that trails slightly behind (or ahead of) their main motion — a spectral, echo-like double. It works for horror edits, dreamy aesthetic content, or anime-style afterimage/speed effects, and it’s built entirely from duplicating a layer and adjusting a handful of standard settings.
What the Effect Does
A transparent duplicate of your subject sits offset in time from the original, creating a trailing double. Depending on how you style it, the same underlying technique can read as scary and haunted, smooth and dreamy, or anime-style afterimage motion — the mood comes almost entirely from the effects and color treatment layered on top, not the core technique itself.
Step-by-Step Guide
1. Import your clip. Choose footage where your subject is actually moving — walking, turning, dancing — since the effect depends on motion to read properly; it won’t do much on a static shot.
2. Duplicate the clip. Duplicate your clip and drag the copy above the original as an overlay layer, aligning both perfectly on the timeline so they start from the same point.
3. Reduce the overlay’s opacity. Select the overlay clip and lower its opacity — somewhere around 40–60% is a reasonable starting point for a visible ghost, or drop it further toward 30% if you want something more subtle.
4. Offset the overlay in time. Nudge the overlay clip slightly forward or backward on the timeline — a few frames up to around ten is usually enough to read clearly without looking like a sync error. Shifting it forward creates a trailing echo behind the main subject; shifting it backward creates a “predictive” double that leads the motion, more like a time-skip effect. Preview to see how the trail reads at different offsets.
5. Add motion blur, for a more natural drift. Apply a motion blur effect to the overlay layer and adjust the intensity until the ghost feels like it’s drifting rather than just sitting duplicated on screen — a lighter touch tends to read as more natural.
6. Style the ghost to match your tone. For a horror feel, a shadow, glitch, or inverted-color effect on the overlay works well. For something dreamier, an edge glow, a softer “dreamy” filter, or a VHS-style treatment fits better. For an anime-style speed effect, a motion trail effect specifically suits the afterimage look. If your edit also uses on-screen titles, give them extra punch with text effects like AE edits.
7. Add fade in/out. Animate the overlay clip’s entrance with a fade in (around half a second) and its exit with a fade out of similar length, so the ghost appears and disappears rather than cutting in and out abruptly.
8. Add texture, if it fits (optional). Stock overlay assets — smoke, light leaks, a glitch texture — placed with an Overlay or Screen blend mode and kept at moderate opacity (roughly 50–70%) can add an extra layer of atmosphere depending on your theme.
9. Add sound. A wind whoosh, distant footsteps, or reversed reverb suits a scary tone. Ambient reverb or soft piano tones suit something dreamier. A quick swoosh or teleport-style sound suits an anime speed effect. Sound does a surprising amount of work in selling the illusion, beyond what the visuals alone manage.
10. Export. 1080p or higher, 60fps if you want the trail to look genuinely smooth, MP4 format.
A Variation: Freeze-Frame Ghost
Instead of a moving duplicate, you can freeze a single frame from your clip, place it beneath the moving footage at reduced opacity (around 40%), and apply a slow zoom-out to make it feel like a lingering presence rather than a moving trail. This works particularly well for time-travel moments or a sense of lingering memory rather than active motion.

The Ghost effect in CapCut creates a see-through duplicate of your subject that trails slightly behind (or ahead of) their main motion — a spectral, echo-like double. It works for horror edits, dreamy aesthetic content, or anime-style afterimage/speed effects, and it’s built entirely from duplicating a layer and adjusting a handful of standard settings.
The Ghost effect in CapCut creates a see-through duplicate of your subject that trails slightly behind (or ahead of) their main motion — a spectral, echo-like double. It works for horror edits, dreamy aesthetic content, or anime-style afterimage/speed effects, and it’s built entirely from duplicating a layer and adjusting a handful of standard settings.
What the Effect Does
A transparent duplicate of your subject sits offset in time from the original, creating a trailing double. Depending on how you style it, the same underlying technique can read as scary and haunted, smooth and dreamy, or anime-style afterimage motion — the mood comes almost entirely from the effects and color treatment layered on top, not the core technique itself.
A transparent duplicate of your subject sits offset in time from the original, creating a trailing double. Depending on how you style it, the same underlying technique can read as scary and haunted, smooth and dreamy, or anime-style afterimage motion — the mood comes almost entirely from the effects and color treatment layered on top, not the core technique itself.
Step-by-Step Guide
1. Import your clip. Choose footage where your subject is actually moving — walking, turning, dancing — since the effect depends on motion to read properly; it won’t do much on a static shot.
1. Import your clip. Choose footage where your subject is actually moving — walking, turning, dancing — since the effect depends on motion to read properly; it won’t do much on a static shot.
2. Duplicate the clip. Duplicate your clip and drag the copy above the original as an overlay layer, aligning both perfectly on the timeline so they start from the same point.
2. Duplicate the clip. Duplicate your clip and drag the copy above the original as an overlay layer, aligning both perfectly on the timeline so they start from the same point.
3. Reduce the overlay’s opacity. Select the overlay clip and lower its opacity — somewhere around 40–60% is a reasonable starting point for a visible ghost, or drop it further toward 30% if you want something more subtle.
3. Reduce the overlay’s opacity. Select the overlay clip and lower its opacity — somewhere around 40–60% is a reasonable starting point for a visible ghost, or drop it further toward 30% if you want something more subtle.
4. Offset the overlay in time. Nudge the overlay clip slightly forward or backward on the timeline — a few frames up to around ten is usually enough to read clearly without looking like a sync error. Shifting it forward creates a trailing echo behind the main subject; shifting it backward creates a “predictive” double that leads the motion, more like a time-skip effect. Preview to see how the trail reads at different offsets.
4. Offset the overlay in time. Nudge the overlay clip slightly forward or backward on the timeline — a few frames up to around ten is usually enough to read clearly without looking like a sync error. Shifting it forward creates a trailing echo behind the main subject; shifting it backward creates a “predictive” double that leads the motion, more like a time-skip effect. Preview to see how the trail reads at different offsets.
5. Add motion blur, for a more natural drift. Apply a motion blur effect to the overlay layer and adjust the intensity until the ghost feels like it’s drifting rather than just sitting duplicated on screen — a lighter touch tends to read as more natural.
5. Add motion blur, for a more natural drift. Apply a motion blur effect to the overlay layer and adjust the intensity until the ghost feels like it’s drifting rather than just sitting duplicated on screen — a lighter touch tends to read as more natural.
6. Style the ghost to match your tone. For a horror feel, a shadow, glitch, or inverted- color effect on the overlay works well. For something dreamier, an edge glow, a softer “dreamy” filter, or a VHS-style treatment fits better. For an anime-style speed effect, a motion trail effect specifically suits the afterimage look.
6. Style the ghost to match your tone. For a horror feel, a shadow, glitch, or inverted- color effect on the overlay works well. For something dreamier, an edge glow, a softer “dreamy” filter, or a VHS-style treatment fits better. For an anime-style speed effect, a motion trail effect specifically suits the afterimage look.
7. Add fade in/out. Animate the overlay clip’s entrance with a fade in (around half a second) and its exit with a fade out of similar length, so the ghost appears and disappears rather than cutting in and out abruptly.
7. Add fade in/out. Animate the overlay clip’s entrance with a fade in (around half a second) and its exit with a fade out of similar length, so the ghost appears and disappears rather than cutting in and out abruptly.
8. Add texture, if it fits (optional). Stock overlay assets — smoke, light leaks, a glitch texture — placed with an Overlay or Screen blend mode and kept at moderate opacity (roughly 50–70%) can add an extra layer of atmosphere depending on your theme.
8. Add texture, if it fits (optional). Stock overlay assets — smoke, light leaks, a glitch texture — placed with an Overlay or Screen blend mode and kept at moderate opacity (roughly 50–70%) can add an extra layer of atmosphere depending on your theme.
9. Add sound. A wind whoosh, distant footsteps, or reversed reverb suits a scary tone. Ambient reverb or soft piano tones suit something dreamier. A quick swoosh or teleport-style sound suits an anime speed effect. Sound does a surprising amount of work in selling the illusion, beyond what the visuals alone manage.
9. Add sound. A wind whoosh, distant footsteps, or reversed reverb suits a scary tone. Ambient reverb or soft piano tones suit something dreamier. A quick swoosh or teleport-style sound suits an anime speed effect. Sound does a surprising amount of work in selling the illusion, beyond what the visuals alone manage.
10. Export. 1080p or higher, 60fps if you want the trail to look genuinely smooth, MP4 format.
10. Export. 1080p or higher, 60fps if you want the trail to look genuinely smooth, MP4 format.
A Variation: Freeze-Frame Ghost
Instead of a moving duplicate, you can freeze a single frame from your clip, place it beneath the moving footage at reduced opacity (around 40%), and apply a slow zoom-out to make it feel like a lingering presence rather than a moving trail. This works particularly well for time-travel moments or a sense of lingering memory rather than active motion.
Instead of a moving duplicate, you can freeze a single frame from your clip, place it beneath the moving footage at reduced opacity (around 40%), and apply a slow zoom-out to make it feel like a lingering presence rather than a moving trail. This works particularly well for time-travel moments or a sense of lingering memory rather than active motion.


