How to Use Templates on CapCut Desktop
CapCut templates bundle transitions, text animations, background effects, and often music into a pre-built structure — drag your own footage in and get a polished result without designing the animation and pacing from scratch. Desktop gives more precise control over this process than mobile, particularly for timeline management and layering.
What Templates Actually Include
Transitions, text animations, background effects, audio/music, and stylized filters — bundled together so you’re customizing an existing structure rather than building one. Well-suited for social content (TikTok, Reels), gaming montages, vlogs/tutorials, and promotional videos where a consistent, polished format matters more than a fully custom edit.
Why Use Templates on Desktop Specifically
Desktop adds capabilities beyond what mobile templates offer: keyframe editing to adjust animation timing precisely, multiple simultaneous tracks for more advanced layering, opacity/blend mode control, speed adjustments that don’t break the template’s built-in transitions, and full access to CapCut’s AI tools (auto captions, background removal, voice enhancement) applied on top of a template.
Finding and Opening a Template
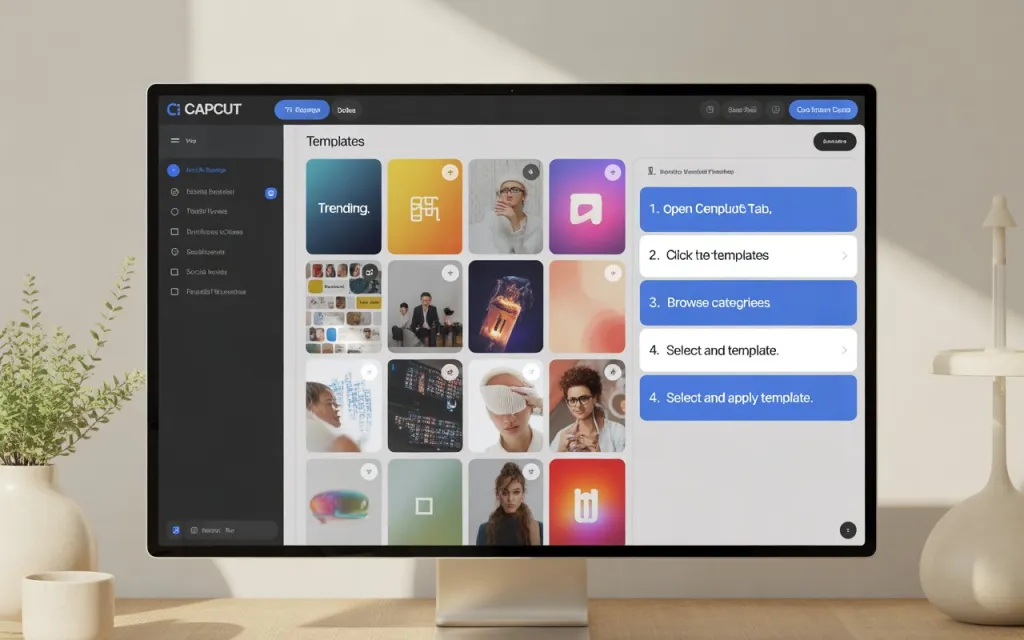
- Open CapCut Desktop → click Templates in the left sidebar.
- Browse by category (Trending, Gaming, Vlog, Business, Music) or search by keyword.
- Hover over a template and click Preview to see its actual animation and pacing before committing.
- Click Use Template to start editing.
Working With a Template
Add your media. Replace the placeholder clips/images by dragging your own files into the timeline — the template’s transitions and effects stay attached to the timeline structure, not the placeholder content, so they carry over automatically.
Customize text. Click a text box to edit the wording, and adjust font, size, color, and animation as needed. Templates typically come with pre-animated text — keep the built-in animation if it fits, or override it if your content calls for something different.
Replace the audio. Templates ship with default music; drag your own track into the timeline to replace it, using volume and fade controls to integrate it smoothly rather than having it cut in abruptly.
Preview and fine-tune. Check the full sequence for timing issues — clip duration and pacing sometimes need adjustment once your actual footage replaces the placeholders, since your clips may not match the placeholder length exactly.
Export. Choose resolution (1080p or 4K) and frame rate, then save locally or share directly.
Customizing Without Breaking the Template
- Keep the overall theme consistent — mismatched colors or transition styles fighting the template’s original design tend to look more amateur than a template used as-is.
- Adjust to your brand colors where the template allows it, rather than forcing your own palette onto elements not designed for it.
- Expect to adjust clip timing. Templates are built around specific placeholder lengths; your actual footage often needs its duration adjusted to fit properly rather than assuming a direct drop-in will time correctly.
- Add overlays sparingly — extra stickers, GIFs, or captions can enhance a template, but stacking too many risks undermining the balance the template was designed with.
- Layer additional effects carefully so they complement rather than replace the template’s original animations.
Best Practices
Preview a template fully before committing media to it, to confirm it actually fits your content’s tone. Keep your clips at or shorter than the template’s placeholder length where possible, since exceeding it commonly causes timing mismatches. Resist over-stacking additional effects on top of an already-designed template. Use high-resolution source clips so the final export doesn’t lose quality relative to what the template was designed to showcase. And save frequently — template-based projects with multiple tracks and effects can be resource-intensive.
Example: Gaming Montage
Templates → Gaming category → choose a template with fast-paced transitions suited to highlight reels → replace placeholder clips with your gameplay footage → edit text to show player names, scores, or key moments → swap in a high-energy soundtrack → preview, adjust clip timing/transitions as needed → export. This workflow gets a polished-looking montage together in a fraction of the time a fully custom edit would take.