How to Remove Alight Motion Watermark on CapCut?
Introduction
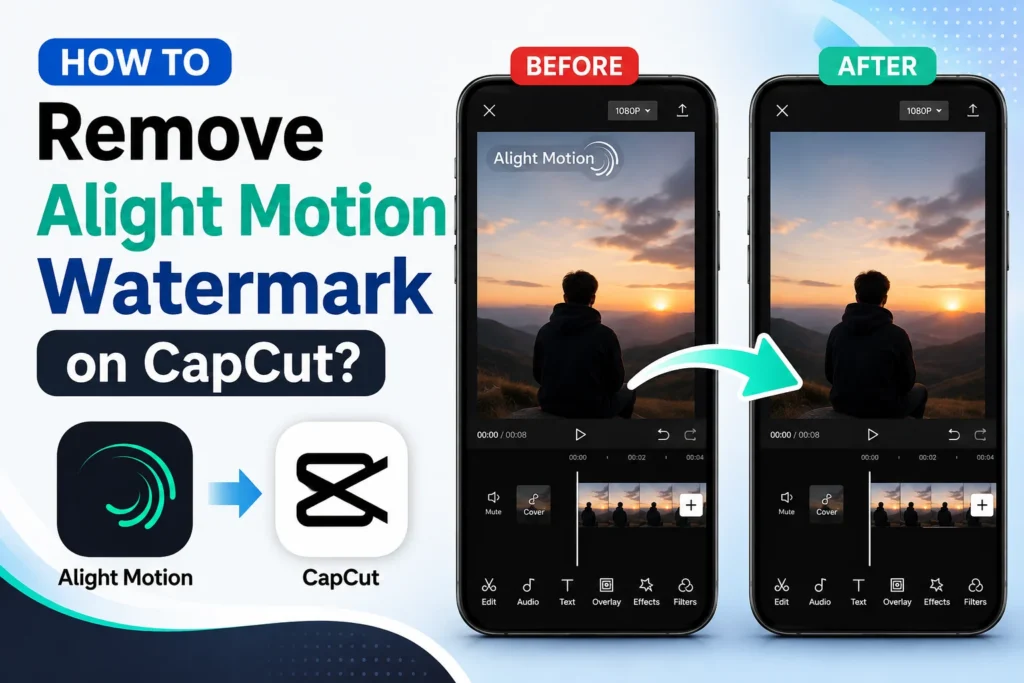
If you’ve edited a video in Alight Motion’s free version and imported it into CapCut, you’ve probably run into its watermark — usually a bottom-corner logo or an end screen. CapCut doesn’t remove watermarks from other apps automatically, but it has several legitimate tools that can crop, cover, or actually erase it.
Why the Watermark Is There
Alight Motion adds it to free-version exports as a way to promote the app and encourage upgrading to Alight Motion Pro, which removes it entirely at the source. It typically shows up as a persistent bottom-corner logo throughout the video, or as a short end-screen logo card. Once that video is imported into CapCut, the watermark is just part of the footage — CapCut has no way to know it’s a watermark unless you tell it to treat it as one, using the tools below.
Method 1: CapCut’s AI Remove Tool (Best for a Clean Result)
CapCut has a genuine AI-based object/logo removal tool, separate from basic cropping or masking:
- Import your Alight Motion-exported clip and add it to the timeline.
- Go to Video → Basic → AI Remove.
- Select the Brush tool and size it to roughly match the watermark.
- Brush over the watermark area, then tap Remove.
CapCut analyzes the surrounding pixels and reconstructs what should be there instead of the logo, rather than blurring or covering it — this tends to look meaningfully better than cropping or masking, especially on moving footage, though results vary with background complexity (a busy, high-motion background is harder to reconstruct cleanly than a simple one).
Method 2: Crop the Watermark Out
- Select the clip → Edit → Crop.
- Adjust the frame boundary until the watermark falls outside the visible area.
- Preview at full size to confirm nothing important was cut.
Best for: vertical videos where the watermark sits near an edge you can crop without losing the subject. Trade-off: you lose resolution/frame area, and it won’t work if the watermark is centered or the subject fills the frame.
Method 3: Cover It With a Blur or Solid Overlay
- Overlay tab → add a solid shape or blur effect.
- Resize and position it directly over the watermark.
- Blend it in with a slight opacity reduction or matching blur rather than a hard-edged block.
Best for: background footage where the corner isn’t a focal point. Trade-off: looks noticeably worse than Method 1 if not blended carefully — a poorly-matched blur patch is often more distracting than the watermark it’s covering.
Method 4: Replace It With Your Own Branding
- Overlay → Add Overlay → upload your logo or text.
- Position it directly over the watermark area.
- Adjust size, opacity, and any entrance animation to match your video’s style.
Best for: creators or brands who want to turn the watermark spot into their own branding rather than just hiding it — often the most professional-looking result of the four methods, since it reads as intentional rather than corrected.
If There’s a Separate End-Screen Logo Card
Many Alight Motion exports include a short logo card at the very end, distinct from any on-screen watermark. If so, just trim or delete that final clip from your timeline — it’s the simplest fix of all, since it’s a separate segment rather than something baked into your footage.
Exporting Without Adding a New Watermark
Once you’re done, export normally through CapCut — confirm you’re not triggering CapCut’s own watermark in the process (this depends on your account/plan status, which has changed over time; check your current export settings rather than assuming free export is always watermark-free). If you do get a watermark on export, see our guide.
The Honest Legal/Ethical Framing
Removing a watermark from your own content that you created in Alight Motion is a normal creative editing choice — you’re not redistributing someone else’s copyrighted material, you made the video. The line to actually respect: if you’re using an Alight Motion template created by someone else, removing their watermark from their template work and passing it off as entirely your own is a different situation — check the template’s license/terms, and credit the creator where relevant. The legitimate, guaranteed way to avoid this issue entirely going forward is upgrading to Alight Motion Pro, which removes the watermark at export rather than requiring any workaround.
Practical Tips
- While editing in Alight Motion, keep your subject away from the corner the watermark occupies — it makes every removal method above easier later.
- Prefer CapCut’s zoom/pan tools over heavy cropping when possible — cropping loses resolution, reframing generally doesn’t.
- The AI Remove tool and a subtle overlay logo can be combined for the cleanest result if a single method leaves a slight imperfection.
- Preview at full screen before exporting — a watermark that looks handled in a small editing preview can still be visible at full size.
Last confirmed: [Aug/2026]. CapCut’s AI Remove tool and export/watermark policies have both changed with updates before — verify the current menu location and your account’s export terms if something above doesn’t match what you see.