
How to Record Screen Using CapCut: Complete 2026 Guide
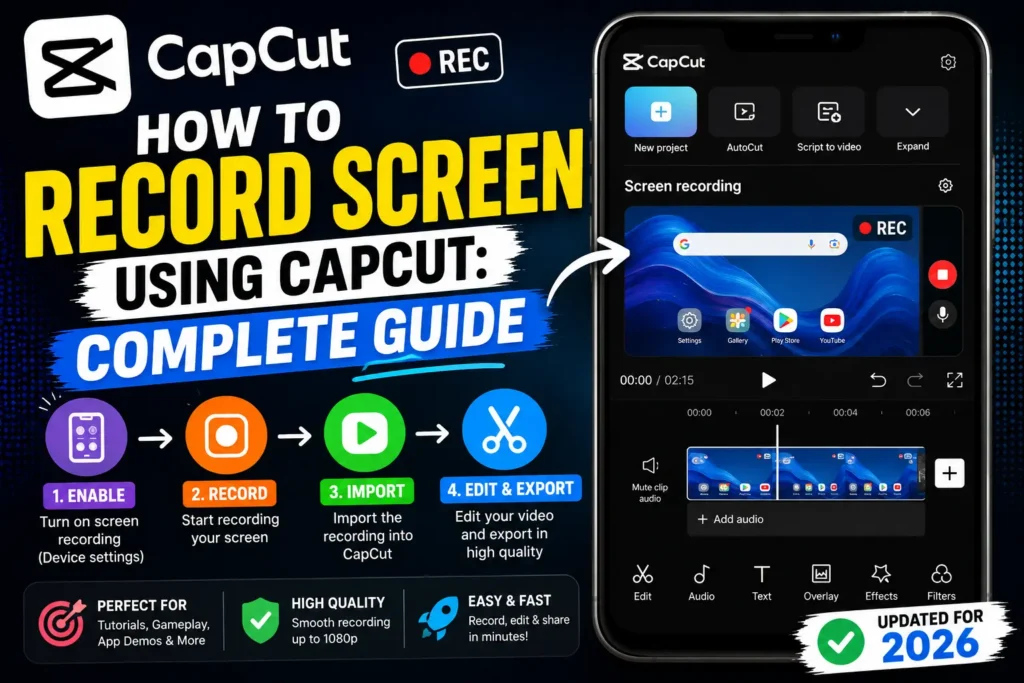
Screen recording has become one of the most essential tools for content creators, gamers, and online educators. Whether you’re making gameplay montages, tutorials, or app demos, capturing your screen is the first step toward high-quality video content.
⚠️ Important update (October 2026): CapCut’s built-in screen recorder is no longer available in current versions. I checked CapCut Desktop and CapCut Web myself, and the ‘Record screen’ option is gone from both — CapCut’s own help pages still describe it, but the button isn’t in the app anymore. This guide is updated for what actually works now: recording with your device’s free built-in tools, then editing the footage in CapCut like a pro.
🧠 Why Screen Recording Matters in 2025
In 2026, video content rules every platform — from YouTube and TikTok to Twitch and Instagram.
If you’re a gamer, teacher, developer, or review creator, screen recording helps you share what’s happening on your device with your audience in real time.
Here are a few reasons you might want to record your screen:
- 🎮 Gaming Montages: Capture gameplay sessions for highlights or tutorials.
- 💻 Software Tutorials: Show viewers how to use apps, tools, or workflows.
- 📱 Mobile Demos: Record app walkthroughs or CapCut tutorials.
- 🎥 Reaction Videos: Record your screen while reacting to videos, memes, or social posts.
- 🧩 Project Walkthroughs: Ideal for freelancers and students creating presentations.
The winning combo is simple: capture with your device’s built-in recorder, then let CapCut handle the editing — trimming, captions, zooms, and effects.
💻 Recording Your Screen for CapCut on Desktop (Updated Method)
CapCut Desktop used to include a built-in recorder (top toolbar → Record → Record Screen). That option is no longer in the current app — I verified this on the latest desktop build in October 2026. CapCut’s help pages still describe the old feature, but you won’t find the button. The workflow below gives you the same result.
Step 1: Record with your system’s free built-in recorder
You don’t need to install anything:
- Windows: press Win + G to open Xbox Game Bar, then hit the Record button. For quick clips, Win + Shift + S opens the Snipping Tool in video mode.
- Mac: press Cmd + Shift + 5 to open the screenshot toolbar, then record the full screen or a selected portion.
Both capture system audio and microphone input — the same options CapCut’s old recorder offered.
Step 2: Import the recording into CapCut
- Open CapCut Desktop → click New Project.
- Click Import → select your screen recording file.
- Set your aspect ratio first (16:9 for YouTube, 9:16 for TikTok/Shorts), then drag the clip to the timeline.
From here, editing works exactly as it did with the old built-in flow — everything in the editing section below still applies.
💡 Still on an older CapCut Desktop? You may see Record → Record Screen in the toolbar. It works the same way, but don’t rely on it surviving the next update.
📱 Can You Record Screen in CapCut Mobile?
As of 2025, the CapCut mobile app (for Android and iOS) does not have a built-in screen recorder.
However, you can use your device’s native screen recording feature and then edit the footage directly in CapCut.
Here’s How:
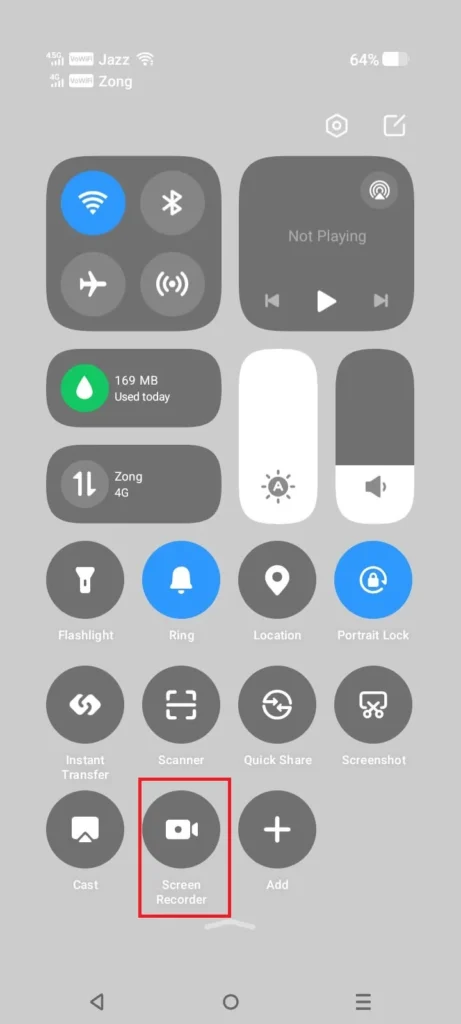
Step 1: Use Built-in Screen Recorder
- Android: Swipe down → Tap Screen Recorder → Choose settings → Start recording.
- iPhone: Go to Control Center → Tap Screen Recording → Wait 3 seconds and start recording.
Step 2: Record Your Content
Capture whatever you want — whether it’s a gaming session, app demo, or video reaction.
Step 3: Import to CapCut
- Open CapCut Mobile.
- Tap New Project → Select your screen recording → Tap Add.
- Now, start editing your screen recording just like any other video.
💡 Tip: For smoother recordings, record in landscape mode and keep your phone stable on a stand.
🌐 How to Record Screen Online Using CapCut Web
CapCut Web (browser version) doesn’t directly support screen capture yet, but you can combine online screen recorders with CapCut’s web editor for a seamless workflow. I re-checked capcut.com in October 2026 — still no recorder there.
Step 1: Record Your Screen Online
Use a trusted online screen recorder such as:
- ScreenApp.io
- Loom
- VEED.io
- OBS Studio (desktop)
Save your screen recording as an MP4 file.
Step 2: Upload to CapCut Web
- Go to CapCut Web Editor.
- Click Create Video.
- Upload your recording and start editing instantly.
✂️ How to Edit Your Screen Recording in CapCut
Once your screen capture is imported, you can make it look professional using CapCut’s powerful editing tools. Avoiding common editing mistakes will instantly improve your videos.
1. Trim and Cut Unwanted Parts
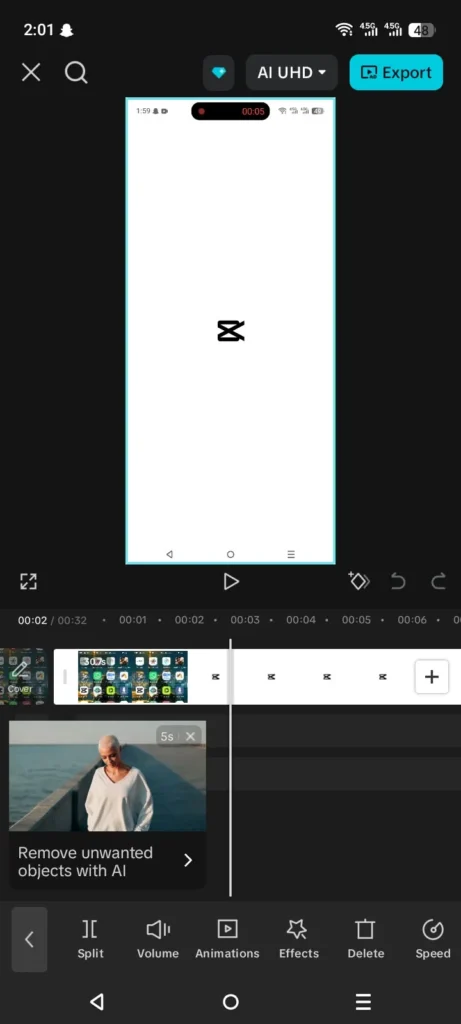
- Select your clip and use the split tool (scissors) to remove awkward pauses or loading screens.
2. Add Zooms and Pan Effects
- Use Keyframes to zoom into important details (e.g., buttons or gameplay areas).
- Add smooth motion to focus on specific screen elements.
3. Insert Text and Callouts
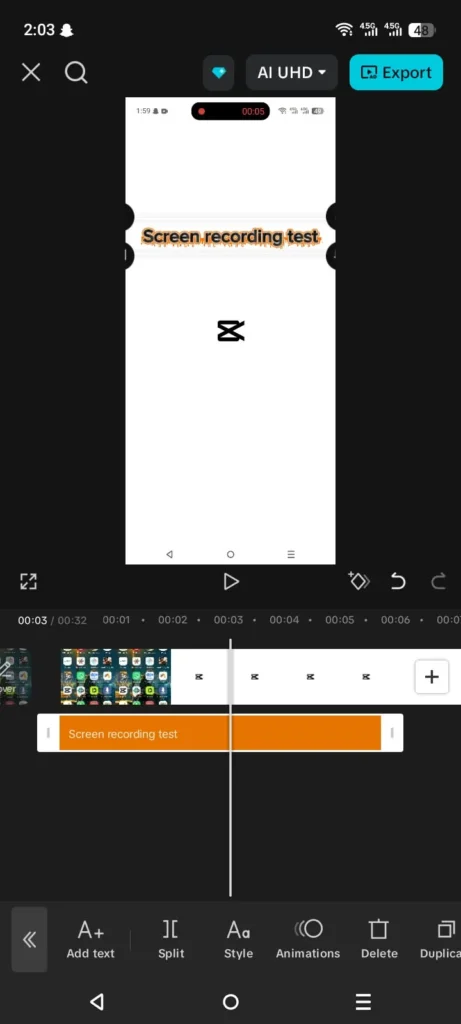
- Go to Text → Add Text for explanations or tutorials.
- Use animated captions for clarity.
4. Overlay Webcam or Facecam Footage
- Record yourself using your webcam (via CapCut or another tool).
- Overlay your facecam in a corner using Picture-in-Picture (PIP) mode.
5. Add Background Music and Sound Effects
- CapCut offers a built-in library of free sounds.
- Use subtle background music to keep viewers engaged.
6. Apply Transitions and Filters
Smooth transitions make tutorials look professional.
Go to Effects → Video Effects and choose options like “Cinematic Shake,” “Focus,” or “Smooth Zoom.”
⚙️ Best Settings for Screen Recording in CapCut (2025)
| Setting | Recommended Value | Purpose |
|---|---|---|
| Resolution | 1080p (Full HD) | Clear visuals for tutorials and gaming |
| Frame Rate | 60 fps | Smooth motion for gameplay or fast demos |
| Audio Source | System + Microphone | Records both system and voice |
| Format | MP4 | Best balance between quality and file size |
💡 Pro Tip: If your system lags during recording, close unnecessary background apps or lower the resolution to 720p.
🧩 Common Problems and Fixes
| Issue | Cause | Fix |
|---|---|---|
| No audio recorded | Microphone not selected | Check audio input in settings before recording |
| Laggy video | Too many background processes | Close heavy apps or lower frame rate |
| File not importing | Wrong format | Use MP4, MOV, or AVI |
| Can’t find “Record Screen” option | Feature removed from current versions | No update brings it back — use Xbox Game Bar (Win+G), the macOS toolbar (Cmd+Shift+5), or your phone’s recorder, then import into CapCut |
🔍 FAQs: Recording Screen in CapCut
Q1. Does CapCut have built-in screen recording on mobile?
No, the mobile app doesn’t include native screen recording. Use your phone’s built-in recorder instead.
Q2. Can I record my voice and system sound together? CapCut’s old desktop recorder offered this, but it’s gone from current versions. Record with Xbox Game Bar (Win + G) on Windows or the screenshot toolbar (Cmd + Shift + 5) on Mac — both capture system audio and mic together — then import the file into CapCut.
Q3. Is there a time limit for screen recording?
No official limit, but longer recordings may consume more RAM and storage.
Q4. Can I record gameplay directly from CapCut? Not anymore — current CapCut versions have no built-in recorder. Capture gameplay with Xbox Game Bar (Win + G), NVIDIA ShadowPlay, or AMD ReLive, then edit the footage in CapCut.
Q5. What’s the best CapCut version for screen recording? None of the current versions (desktop, web, or mobile) include a screen recorder. Record with your system’s built-in tools and use CapCut for editing — that’s the workflow this guide covers.
🎬 Final Thoughts
Recording your screen for CapCut is still a game-changer for creators who want polished tutorials and gameplay videos. While CapCut no longer records the screen itself, the record-then-edit workflow gives you the same result: capture with your device’s free built-in recorder, then use CapCut’s trimming, captions, zooms, and effects to make it professional.
Whether you’re building gaming highlights, software walkthroughs, or educational tutorials — CapCut ensures everything stays professional, polished, and easy to manage.
With CapCut handling the editing side — trim, captions, effects, and export — this combo remains one of the most efficient free workflows for content creation in 2026.
Tested October 2026: no built-in screen recorder found in current CapCut Desktop or CapCut Web (capcut.com). This article was updated to reflect what’s actually available.


