
How to Create Flashback Scenes in CapCut (Cinematic Memory Effect Tutorial)
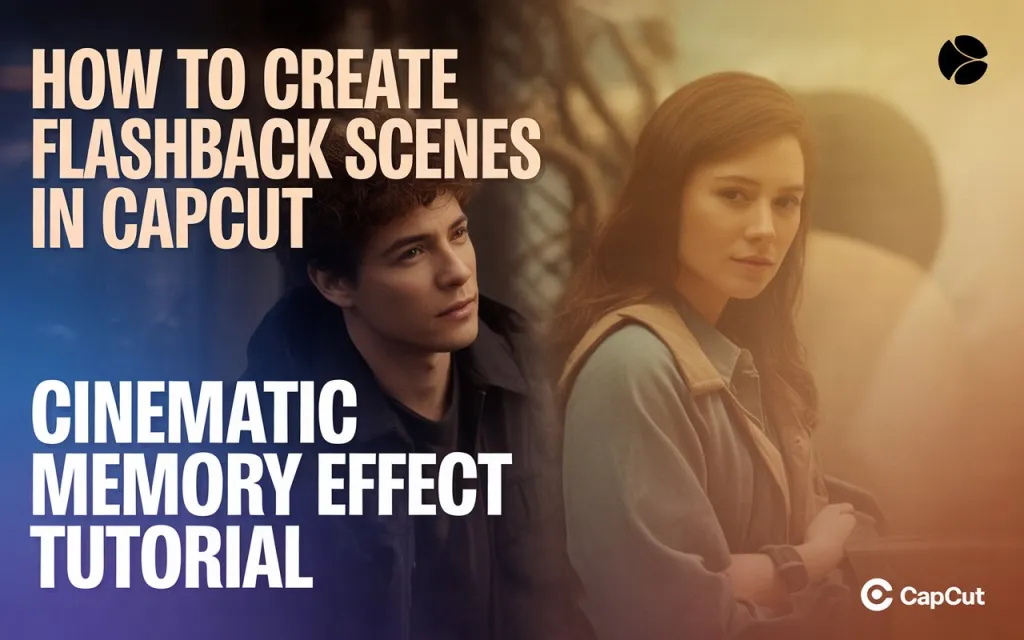
The flashback scenes in CapCut— a faded, dreamy visual treatment that instantly signals “this is a memory” — is a classic storytelling trick borrowed from film and anime. It’s straightforward to build in CapCut using color grading, blur, and a well-chosen transition, and it reads as genuinely cinematic once the pieces are in place.
Choosing Your Clips
You’ll need two things: your main “present moment” clip, and the memory clip you want treated as the flashback. A flashback clip with a slower pace or clear emotional expression tends to sell the effect better than something fast-paced or neutral.
Step-by-Step Guide
1. Import your clips. Bring both your main clip and flashback clip into a new project and arrange them in order — main scene, then flashback, then back to the main scene.
2. Apply the flashback color tone. Select the flashback clip and open Adjust. Reduce saturation noticeably, pull contrast down, and lift brightness and highlights slightly for a faded, memory-like look — treat these as a direction to push in rather than fixed numbers, since the right amount depends heavily on your source footage. Shifting temperature warmer suits a nostalgic tone, while a cooler shift suits something more melancholic. Layering a retro, warm, black-and-white, or sepia filter on top pushes the effect further — sepia or black-and-white in particular reads as an instant, unambiguous “flashback” signal to viewers.
3. Add blur and glow for a dreamier feel. Apply a lens blur or soft-focus style blur effect to the flashback clip, adjusting intensity until it feels soft without losing the subject entirely. An edge glow layered on top can add a subtle shine that works particularly well for romantic or more emotional flashback moments.
4. Add a transition in and out. Between the main scene and the flashback, use a fade, flash, or blur-style transition, kept short — somewhere around 0.4 to 0.6 seconds tends to feel cinematic without dragging. A flash or white-fade transition in particular does a good job of mimicking the classic “cut to memory” feeling audiences already recognize from film.
5. Add nostalgic music or sound. A soft piano melody, a gentle wind or whoosh sound during the transition, or a subtle heartbeat or echo effect for emotional weight all suit this style. CapCut’s sound library often has cinematic or emotional-toned tracks worth searching for directly.
6. Add a light leak or dust overlay, for extra texture (optional). A stock light-leak or film-dust overlay, placed with an Overlay or Screen blend mode and kept at moderate opacity, can add a vintage, film-like quality that reinforces the flashback feel.
7. Add subtle slow motion. Dropping the flashback clip’s speed to somewhere around 0.5x–0.7x, with a smoothing or “better quality” option enabled if available, gives the motion a softer, more dreamlike quality than full-speed footage would.
8. Add whisper text, if it fits (optional). A short line like “Three years ago…” or “I remember that day…” can reinforce the flashback framing, especially for viewers coming in without context. A classic, serif, or cursive-style font suits the tone; keeping opacity slightly reduced with a fade in/out animation helps it feel like part of the scene rather than a bolted-on caption.
9. Export. 1080p at 60fps for smooth motion, with a light sharpen pass before exporting if the blur has softened detail more than intended.
Pro Tips
Pairing the visual flashback treatment with an echo or reverb-heavy sound effect tends to land more emotionally than either element alone. A vignette can help draw focus toward the subject during the flashback specifically. For an anime-style flashback, adding letterbox black bars along with a touch of film grain pushes the effect toward a more cinematic, intentional feel rather than just a color-shifted clip.


