
How to Create Smooth Manga Rotos in CapCut (2025 Complete Guide)
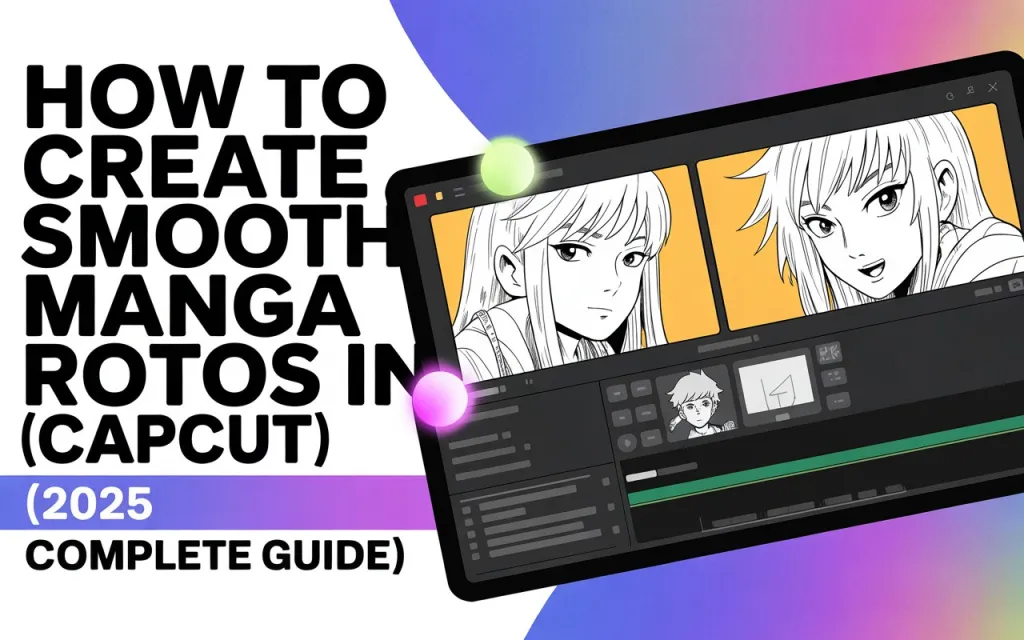
A “manga roto” edit isolates a subject from their original footage — using masking or rotoscoping — and places them over a stylized manga-style background or panel, with motion timed to music and comic-style overlays (speed lines, ink splashes, panel borders) layered on top. The effect reads as if your subject has been lifted out of the frame and placed into a manga panel. It’s achievable entirely with CapCut’s built-in masking, keyframe, and layering tools.
[FILL IN: a real screenshot of a masked subject layer over a manga-style background, or a note on which CapCut version this was last tested on]
Why This Style Works
It’s a distinctive look that stands out from standard edits, particularly for anime/manga fan content and trend-driven reels. Because you’re isolating the subject yourself with masking rather than relying on a single filter, you get real creative control over placement, background pairing, and transitions — all without needing desktop VFX software.
Step-by-Step Guide
1. Import your clip and identify the motion. Bring in footage where your subject is clearly visible and moving, even slightly — a turn, a jump, a gesture all work well as anchors for the effect. Trim to the portion you want to use.
2. Duplicate and prepare your layers. Duplicate the clip so you have two identical layers. One will serve as your background (or get replaced entirely), and the other will hold your masked subject with manga-style treatment applied. Temporarily hide the top layer while you work on the mask.
3. Mask or rotoscope the subject. On your top layer, select the clip and use the Mask tool (or a brush-based rotoscoping tool if your version has one) to isolate your subject with a freehand mask or shape. Add feathering to soften the mask edges so it doesn’t look cut out. If your subject moves during the clip, add keyframes at each point where they shift position, adjusting the mask to follow. Once the mask is working, hide or mute the original bottom layer so only the isolated subject shows against transparency.
4. Build the manga-style background. On your bottom layer (or a new track beneath everything), place your manga-style background — a comic panel texture, black-and-white speed lines, ink splatter, or another graphic treatment. If you want an actual panel layout, adding rectangular shapes with borders can create that comic-panel-division look. Push contrast and adjust opacity to get the high-contrast aesthetic manga art typically has.
5. Place the subject over the background and add motion. Move your masked subject layer above the background. Use keyframes or animation to add movement — entering the frame, a slight zoom, a rotation — timed to a beat if you’re using music. A zoom-in-to-freeze-then-zoom-out sequence, or a pan across the subject, can help emphasize the movement further.
6. Layer in manga visual effects. A speed-lines overlay (PNG or video), placed above everything with a Screen or Overlay blend mode, adds energy at key moments. Ink splash or impact overlays work well for dramatic beats. Text bubbles or thought-panel graphics with a comic-style font can add narrative touches. High contrast, a desaturated or black-and-white treatment, or a bold color tint all reinforce the manga look.
7. Sync to audio and add final touches. Bring in your music or sound effects and find the beat drop or impact moment you want to build around. Align your major motion or overlay effects to land on that beat, and consider a subtle camera shake or screen flash right at the impact point to sell the manga feel. A final color grade — increased contrast, maybe a light vignette or film grain — helps tie everything together.
8. Export. 1080p or higher keeps overlay and mask edges clean. 30–60fps depending on your source footage, with a high enough bitrate to preserve detail. Preview on mobile specifically to confirm mask edges look clean and overlays are properly synced.
Creative Variations
Splitting the screen into multiple manga panels after your subject is masked, then animating them moving across the panels, adds a more elaborate comic-page feel. Adding a glitch effect (RGB split, a frame jump) right before a manga panel reveal can punch up a transition. Keeping your subject in full color while the background stays black-and-white creates a strong pop-out contrast. If you’d rather not build the whole thing manually, searching for existing manga-style edit templates and adapting them with your own rotoscoped subject is a reasonable shortcut. And if you have control over the shoot, filming against a simple, uncluttered background makes the masking step considerably easier before you swap in your manga-style backdrop.
Common Problems & Fixes
| Problem | Cause | Fix |
|---|---|---|
| Subject edges look jagged | Mask feather too low, or missing keyframes on a moving subject | Increase feathering, refine the mask path, and add more keyframes to track motion closely |
| Background overlays distract from the subject | Overlay opacity too high, or colors too similar to the subject | Reduce overlay opacity, or shift the overlay color for better contrast |
| Motion doesn’t look smooth | Too many abrupt keyframes with no easing | Smooth out keyframe transitions, and add motion blur if it’s available |
| Export looks blurry or jagged | Low source resolution, or heavy compression | Export at higher quality, and avoid extreme zooms if your source footage is already low resolution |
| Sync feels off with the music | Motion and beat not actually aligned | Use the audio waveform view to mark beats precisely and align your motion start/end points to them |


