
Stranger Things-Style Levitation Effect in CapCut
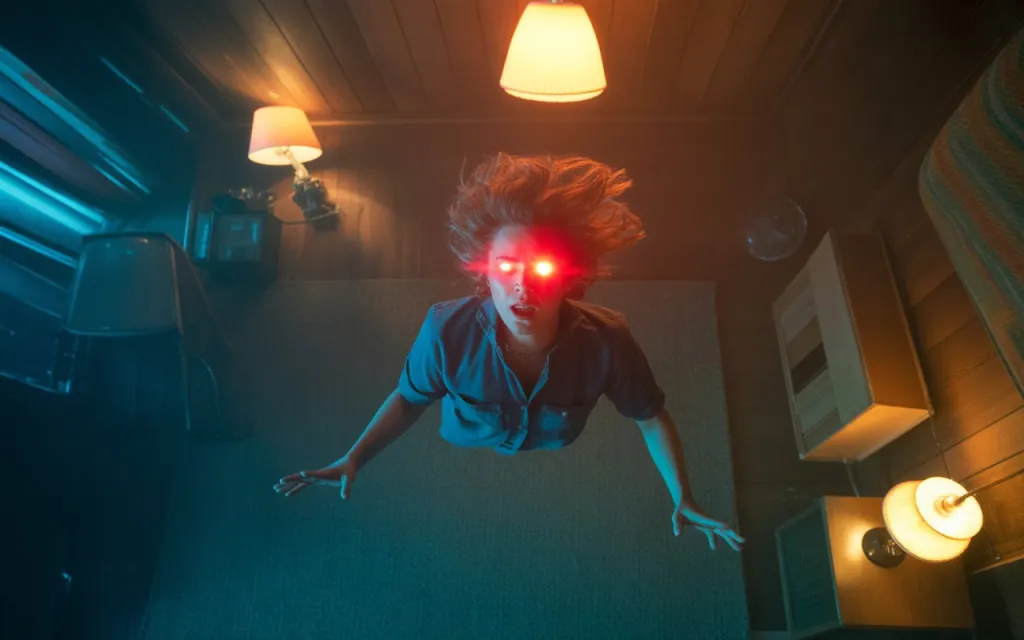
This levitation effect in CapCut — a subject appearing to float or hover in mid-air, often paired with eerie lighting and a slow, deliberate vertical motion — gives footage a supernatural, otherworldly feel reminiscent of the levitation scenes popularized by shows like Stranger Things. It’s built from filming technique plus keyframed motion and atmospheric effects, all achievable on mobile in CapCut.
What This Effect Involves
At its core: footage of a subject filmed with the eventual float in mind, keyframed upward motion added in editing, and supporting atmospheric effects (glow, shadow, blur) layered in to sell the illusion. None of this requires desktop VFX software — it’s built from CapCut’s standard masking, keyframe, and effects tools.
Why Use It
A floating subject is immediately visually striking, which matters a lot on short-form platforms where you need to grab attention fast. It suits supernatural, horror, anime, or “power-up” themed edits particularly well, and the whole thing is achievable on a phone.
Step-by-Step Guide
1. Film or choose your clip. You want footage where the subject starts grounded (standing, sitting) and will appear to rise at some point. A steady camera — a tripod if you can manage it — matters more than almost anything else here, since any camera drift undercuts the illusion immediately. Good lighting that separates your subject from the background also makes any masking work easier later.
2. Import into CapCut. Start a new project, bring in your clip, and identify the exact moment you want the levitation to begin.
3. Isolate the subject’s motion, for a cleaner result (optional). Duplicate the clip so you have two layers, then apply a mask around your subject on the top layer so you can animate them independently of the background. Feathering softens the mask edges, and if your subject moves significantly during the clip, add keyframes to track that motion.
4. Animate the levitation. On your subject layer, set a starting keyframe at normal position and scale, then a second keyframe where the subject is raised — adjusting scale slightly if it helps sell the height change. As a starting point, an upward move over roughly 0.8 to 1.5 seconds tends to read as deliberate rather than rushed, though this depends on your specific footage and pacing. A slight rotation or tilt adds a bit of natural imperfection to the motion, and if you want a bounce-back moment, a small downward keyframe right after the peak can add realism.
5. Add supporting effects to sell the illusion. A shadow on a layer beneath the subject — darkened, blurred, low opacity — that stays anchored to the ground even as the subject rises does a lot of work to make the effect convincing. A glow or light flash right at the moment of levitation reinforces the supernatural feel. A touch of motion blur helps smooth out any fast upward movement. And atmospheric overlays — dust, particles, light rays, using a Screen or Overlay blend mode — add ambiance around the subject.
6. Sync audio and color grade. A beat drop or a specific tone timed to the moment of levitation accents the effect. For a darker, Stranger Things-adjacent tone, pushing shadows darker, slightly desaturating, boosting contrast, or adding a cold blue tint all help. A vignette or light grain can add a final stylistic layer.
7. Preview and export. Check at full resolution for any shakiness, mask artifacts, or motion issues before exporting. 1080p or higher at 30–60fps with a solid bitrate keeps detail intact — play it back on your actual target platform to confirm it reads as smooth and convincing there specifically.
Creative Variations
Slowing the clip slightly right before the levitation begins (using the speed tool) can heighten the sense of anticipation. After the initial rise, looping a subtle up-and-down motion via keyframes gives a genuine floating feel rather than a static hover. Keeping the background as static as possible is worth emphasizing — any noticeable background movement undercuts the illusion fast. Coloring the glow to match your theme (red for danger, blue for power, purple for something more mystical) can reinforce the tone you’re going for. If you filmed against a neutral background, keying it out and placing your subject over a custom backdrop gives you more control over the final composition. And if you’d rather not build the effect from scratch, CapCut’s template library sometimes has ready-made levitation or float-style templates worth searching for and adapting.
Common Problems & Fixes
| Problem | Cause | Fix |
|---|---|---|
| Subject appears to slide rather than levitate | Camera moved during filming, or the background shifted too much | Use a tripod, lock the camera down, and use masking to stabilize the shot in post if needed |
| Mask edges visible or jagged | Feathering too low, or subject motion not properly keyframed | Increase feathering, and add more keyframes to track the motion closely |
| Levitation looks too fast or abrupt | Keyframes spaced too close together in time | Extend the timeframe between keyframes, and ease in and out rather than moving at a constant rate |
| Shadow looks unnatural | Shadow not properly anchored, or scaled incorrectly | Align the shadow precisely to the ground point, and blur it while reducing opacity |
| Glow or overlay effect too strong | Brightness pushed too far, or blend mode too heavy | Reduce opacity and try a lighter blend mode for a subtler result |


