
How to Make Anime-Style Motion Cut Transitions in CapCut
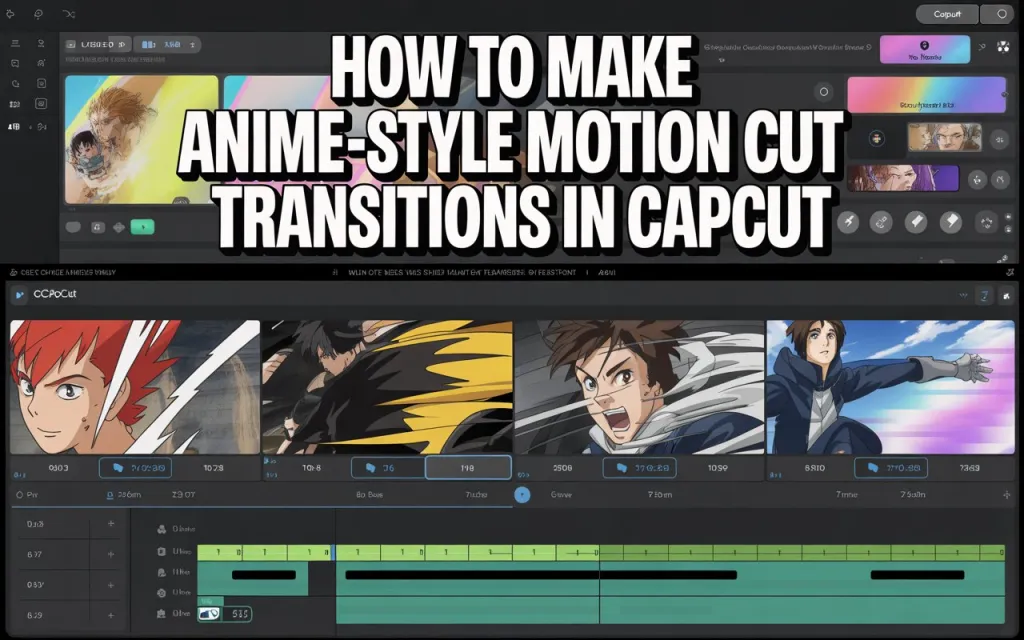
⭐ Introduction
Anime-style motion cut transitions are one of the most popular editing techniques right now. You’ve seen them in AMVs, TikTok edits, Instagram reels, and aesthetic fan edits. These transitions make your clips look fast, dynamic, and dramatic—just like Japanese anime fight scenes. The best part? You can create these transitions easily inside CapCut, using only keyframes, motion blur, and a few adjustment tools.
In this article, you’ll learn step-by-step how to make anime-style motion cut transitions in CapCut, even if you’re a complete beginner. This guide covers everything: camera movement, motion blur, masking, directional energy, color grading, and sound design. By the end, you’ll be able to create anime-level action cuts that instantly upgrade your edits.
⭐ What Are Anime-Style Motion Cut Transitions?
In anime, animators use motion cuts to show high-speed action, dynamic poses, and fast transitions. These cuts include:
- Quick zoom-in or zoom-out
- Directional slides (left, right, up, down)
- Camera shake
- Blurred motion
- Impact frames (white flash or color change)
- Dynamic poses during the transition
These are used heavily in fighting anime like Naruto, Demon Slayer, Jujutsu Kaisen, Attack on Titan, and others. CapCut gives you tools to recreate these effects for your AMVs or aesthetic edits.
⭐ What You’ll Need
✔ CapCut mobile or CapCut PC
✔ Two video clips (anime or real footage)
✔ Basic understanding of keyframes
✔ Optional: sound effects (whoosh, impact, swoosh)
⭐ Step-by-Step: How to Create the Motion Cut Transition
Step 1: Import Your Clips
Open CapCut → New Project → Import Clip A and Clip B.
Place them in the timeline back-to-back.
Your transition will happen between the last 0.5 seconds of Clip A and the first 0.5 seconds of Clip B.
Step 2: Create a Zoom-Based Motion Cut (Most Popular)
This is the foundation of most anime transitions.
For Clip A (ending part):
- Select the last 0.5 seconds
- Add a keyframe at the start
- Add another keyframe at the very end
- Increase the Scale at the second keyframe to 150%–200%
- Slightly move the clip to one direction (left, right, up, or down)
For Clip B (starting part):
- Add keyframe at first frame
- Set Scale to 200%
- Add second keyframe at 0.5 seconds
- Reduce Scale back to 100%
- Move clip in the opposite direction from Clip A
✔ This creates the illusion of high-speed motion.
⭐ Step 3: Add Motion Blur (Very Important)
Anime motion relies heavily on blur.
Go to:
Effects → Video Effects → Motion Blur → Blur
- Strength: 60–100
- Blend: 40–70
- Edge: 50
This smooths out the movement and makes transitions feel like anime cuts.
⭐ Step 4: Add Directional Slide (Optional But Powerful)
You can add directional force to make it look faster.
Go to:
Effects → Basic → Shake or Slide
Recommended settings:
- Speed: 50–70
- Range: 30–40
- Motion Blur: On
This creates fast anime-like camera motion.
⭐ Step 5: Add Impact Frame (Signature Anime Style)
Impact frames appear during strong action. They last 1–3 frames.
How to Add an Impact Flash:
- Split Clip A at the last frame
- Add a white overlay (white color clip)
- Set duration to 0.02–0.05 seconds
- Set opacity to 50–60%
It creates a powerful anime-style hit.
You can also add:
- Red flash (action)
- Blue flash (ice/water anime edits)
- Purple flash (dark theme edits)
⭐ Step 6: Add Chromatic Aberration (Anime Glow)
Go to:
Effects → Lens → Chromatic Aberration
Settings:
- Intensity: 20–30
- Fade: 40
This adds anime-like depth and speed.
⭐ Step 7: Add Camera Shake (Fight Scene Effect)
Use short bursts of shake.
Effects → Camera Shake →
- Shake 1
- Shake 3
- Earthquake (for dramatic edits)
Duration: 0.2–0.4 seconds
Strength: 20–40
This gives the effect of rapid anime action.
⭐ Step 8: Add Mask (Advanced Technique)
Masks create dynamic cut transitions used in anime scenes.
Example: Slide Mask
- Select Clip A
- Choose Mask → Split
- Rotate mask to horizontal
- Animate it moving down as clip ends
Clip B will slide in from behind, creating a very stylish transition.
⭐ Step 9: Add Color Grading (Make It Look Like Anime)
Anime motion cuts look more dramatic with color grading.
Recommended Look:
- Contrast: +20
- Saturation: +10
- Highlights: –20
- Sharpen: 10–20
- Vignette: 10
If you want a dark anime energy, use teal shadows and orange highlights.
⭐ Step 10: Add Sound Effects (Makes It 10x Better)
Anime transitions ALWAYS include:
- Whoosh
- Swipe
- Impact
- Energy burst
You can download free SFX and place them:
- During the zoom
- During the slide
- At impact frame
This instantly multiplies the quality.
⭐ Final Result
By following all steps, your anime motion cut transition will include:
✔ Zoom + scale motion
✔ Directional movement
✔ Motion blur
✔ Flash/impact frame
✔ Chromatic aberration
✔ Camera shake
✔ Masked slide transition
✔ Color grading
✔ Sound sync
This gives a clean, professional anime-style transition just like AMVs on YouTube and TikTok.
⭐ Tips to Make It Look Even More Professional
- Use 120fps clips if possible
- Add manual motion blur (Gaussian blur keyframed)
- Increase speed to 1.15x–1.2x
- Add glow effects during impact
- Use black bars for cinematic look
- Change background to a manga panel for unique style
⭐ Conclusion
Anime-style motion cut transitions are one of the coolest edits you can create in CapCut. They are dynamic, fast, and incredibly eye-catching. Whether you’re making anime AMVs, TikTok edits, or YouTube Shorts, mastering this technique will massively improve your content quality. With motion blur, flash frames, keyframes, masks, and sound effects, your transitions will look professionally animated.
If you apply this method consistently, your videos will stand out, get more engagement, and attract more viewers.


