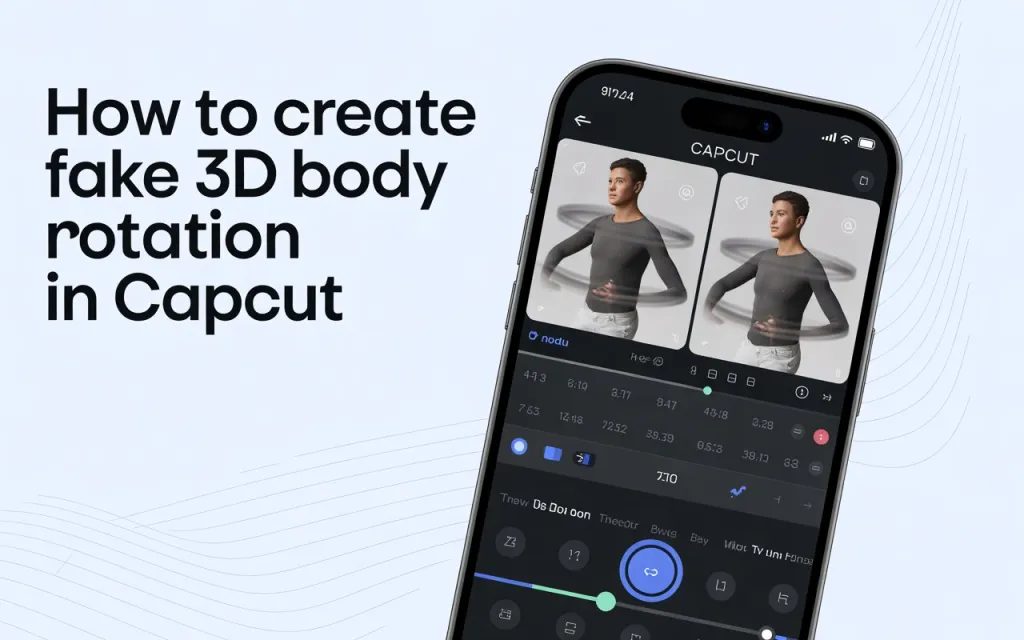
How to Create Fake 3D Body Rotation in CapCut
⭐ Introduction
Fake 3D body rotation is one of the most mind-blowing CapCut tricks trending on TikTok, Reels, and YouTube Shorts. This effect makes it look like your subject rotates in 3D space, even though the original video was shot in 2D. Editors use it for anime edits, aesthetic reels, character showcases, portraits, glam edits, and cinematic sequences.
The best part? You don’t need Blender, After Effects, or advanced 3D skills. CapCut allows you to create realistic 3D rotation using keyframes, perspective warping, motion blur, and clever movement tricks.
In this detailed guide, you will learn step-by-step how to create a convincing fake 3D body rotation effect in CapCut, including advanced tips professionals use.
⭐ What Is Fake 3D Rotation?
Fake 3D rotation means creating the illusion that a person or object is rotating left, right, up, or down—even though the footage doesn’t include a real turn. This illusion is created by:
- Distorting the edges of the clip
- Adding horizontal or vertical movement
- Using perspective warp
- Increasing or decreasing scale (zoom)
- Adding motion blur
- Animating body parts separately (optional)
This technique mimics how real 3D objects rotate and looks amazing in edits.
⭐ What You Need
✔ CapCut mobile or CapCut PC
✔ A subject clip where the person is standing or looking forward
✔ Optional: PNG cutout of the character (for advanced 3D layers)
✔ Good lighting or high-quality footage
⭐ Step-by-Step: Creating Fake 3D Rotation in CapCut
Step 1: Import Your Clip & Isolate the Subject
If you want perfect results, you should remove the background.
Remove Background
- Click on your clip
- Go to Cutout
- Choose Auto Cutout
CapCut’s AI will isolate the subject cleanly.
This isolation allows the body to “rotate” freely without the background interfering.
⭐ Step 2: Add Keyframes (The Foundation of Rotation)
Fake 3D rotation is created by moving the subject slightly left or right with perspective distortion.
Add first keyframe:
Place it at the start of the clip.
Add second keyframe:
Place it 0.5–1 second forward.
This duration creates smooth rotational movement.
⭐ Step 3: Create the Horizontal 3D Rotation (Left ↔ Right)
This is the most popular 3D turn.
At the second keyframe:
- Move subject slightly to the left (X-axis)
- Turn on Tilt (X or Y rotation) depending on the direction
- Reduce or increase Width to mimic perspective
Example:
If rotating left:
- Slide subject slightly to right
- Add Left Tilt
- Slightly reduce width
- Increase height a little
This creates the fake rotational angle—like the body is turning naturally.
⭐ Step 4: Add Perspective Distortion (Most Important Step)
CapCut has a built-in “Perspective” adjustment that makes 3D rotation look real.
Go to:
Adjust → Perspective
You will see four corners:
- Top Left
- Top Right
- Bottom Left
- Bottom Right
To simulate rotation:
If rotating left:
- Pull right side corners inward
- Push left side corners outward
If rotating right:
- Pull left side corners inward
- Push right side corners outward
This creates realistic “3D depth,” making the body look like it’s turning.
⭐ Step 5: Add Motion Blur for Softness
Without motion blur, the rotation looks fake or stiff.
Go to:
Effects → Motion Blur → Blur
Settings:
- Intensity: 20–30
- Blend: 40–60
- Sharpness: 20
This smooths out the motion instantly.
⭐ Step 6: Add Scaling (Zoom In/Out)
When bodies rotate, they slightly come closer or move away from the camera.
At end keyframe:
- Increase scale (if rotating toward the camera)
OR - Decrease scale (if rotating away)
This boosts realism dramatically.
⭐ Advanced Technique: Multi-Layer 3D Rotation (Pro Level)
This makes the rotation almost identical to After Effects edits.
Step 1: Duplicate your subject
- Click clip → Copy
Now you have 2 layers of the same person.
Step 2: Mask the upper layer
Use Mask → Split or Mask → Circle to isolate areas like:
- Face
- Hair
- Chest
- Arms
Each layer gets slightly different movement, giving a parallax 3D effect.
Step 3: Add slightly different keyframes
Example:
- Top layer rotates with 5% more tilt
- Bottom layer rotates with less tilt
- Face layer moves slower for smooth 3D depth
This creates TRUE 3D rotation without real 3D software.
⭐ Step 7: Add Camera Movement (To Sell the Effect)
Add a subtle camera pan or zoom.
Use keyframes on the entire timeline:
- Start: Zoom 85%
- End: Zoom 100%
Or move the entire frame slightly sideways.
This adds cinematic motion.
⭐ Step 8: Add Lighting & Shadows (Optional but Powerful)
Go to Adjust → Shadow
Settings:
- Highlight: –10
- Shadows: +25
- Contrast: +15
Pop effect:
Add Glow effect to enhance anime-style edits.
This makes the rotation stand out.
⭐ Bonus: How to Make Anime Character 3D Rotation (For AMVs)
For anime edits, follow the same steps but with PNG anime characters.
Extra Anime Trick:
Add motion streaks behind the character:
- Go to Effects → Lens → Motion Trails
- Or use PNG streak overlays
Anime fans LOVE this look.
⭐ Common Mistakes to Avoid
❌ Over-tilting – makes rotation look fake
❌ Moving subject too far left/right
❌ No motion blur – looks stiff
❌ No perspective distortion – looks flat
❌ Over-zooming – destroys realism
Keep movements subtle and smooth.
⭐ Tips to Make 3D Rotation Look Perfect
✔ Use high-quality footage
✔ Increase FPS if possible
✔ Add slight camera shake for energy
✔ Use easing (Keyframe graph)
✔ Keep rotation 0.5–1 second long
✔ Add a background that matches the motion
⭐ Conclusion
Fake 3D body rotation in CapCut is one of the most impressive effects you can create without 3D software. With keyframes, perspective warp, motion blur, zoom adjustments, and screen movement, you can transform any 2D clip into a realistic rotating scene.
Once you master this technique, you can use it in:
- Anime AMVs
- TikTok edits
- Aesthetic reels
- Glam edits
- Model showcases
- Character intros
- Cinematic B-roll
This effect instantly makes your videos look more professional and dynamic.