
How to Add Transitions in CapCut
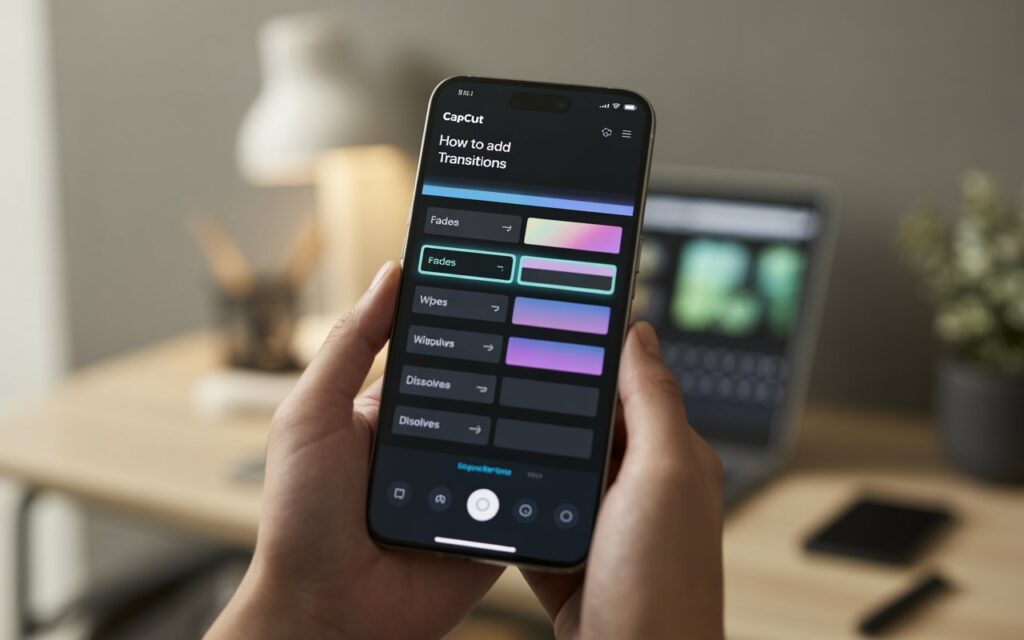
What Are Transitions in CapCut?
In CapCut, a transition is a visual effect that smooths the change from one clip to another. Instead of a sharp, jarring cut, transitions create flow, set a mood, and can even become a storytelling element.
CapCut transitions can be:
- Simple – fades, slides, wipes
- Dynamic – zooms, spins, camera shakes
- Stylized – glitch effects, flashes, cinematic overlays
2️⃣ Why Transitions Are Important in Video Editing
Transitions are more than decoration — they:
- Maintain viewer engagement by avoiding abrupt cuts.
- Control video pacing — faster transitions = energetic, slower transitions = calm.
- Improve professional quality — polished edits get more watch time on platforms like TikTok, Instagram Reels, and YouTube Shorts.
- Set emotional tone — a crossfade feels warm and emotional; a glitch feels edgy and intense.
3️⃣ How CapCut Organizes Transitions
CapCut splits transitions into categories based on style:
- Basic – Fade, Slide, Wipe, Zoom.
- Camera – Push In, Spin, Swing.
- Effect – Flash, Glitch, Blur.
- Social Media – Trendy effects inspired by viral edits.
- Combo – A mix of animations and overlays.
Each transition has:
- Preview – Tap/hover to see it in action.
- Duration control – Adjust speed (short = snappy, long = smooth).
- Direction control (for slides, spins, wipes).
4️⃣ Where to Find Transitions in CapCut
Transitions are placed between two clips or images.
On Mobile (iPhone/Android):
- Between clips, you’ll see a white square with a black vertical line — that’s the transition point.
On PC (Windows/Mac):
- Between clips, you’ll see a small transition icon when you hover over the cut.
On Chromebook/Web:
- Look for a + icon between clips.
5️⃣ Step-by-Step: Adding Transitions in CapCut Mobile
(Works on iPhone, Android, iPad)
- Open CapCut and create/import your project.
- Arrange your clips in the timeline.
- Locate the transition box between two clips.
- Tap the box — transition menu opens.
- Browse categories (Basic, Camera, etc.).
- Tap a transition to preview.
- Adjust:
- Duration (slider at bottom)
- Direction (if available)
- Tap ✔ Apply.
- Play preview to ensure smoothness.
6️⃣ Step-by-Step: Adding Transitions in CapCut Desktop
(Works on Windows 10/11 and macOS)
- Open CapCut Desktop and load your project.
- Drag clips to the timeline.
- Hover between two clips until a transition button appears.
- Click it to open the transition panel.
- Select a transition and drag it to the gap.
- Adjust settings in the right panel:
- Duration
- Direction
- Speed curve (for some effects)
- Preview and fine-tune.
7️⃣ Step-by-Step: Adding Transitions in CapCut Web/Chromebook
- Go to CapCut Web Editor.
- Upload and arrange clips.
- Click the + between clips.
- Choose a transition style.
- Adjust duration and apply.
- Preview before exporting.
8️⃣ How to Edit or Change a Transition
If you’ve already added a transition:
- Tap/click the transition icon again.
- Choose a new style or adjust duration.
- Tap Apply to update.
9️⃣ Pro Tips for Using Transitions
- Match the mood: Use soft fades for romantic scenes, glitch for tech/gaming edits.
- Time to music: Sync transitions with beat drops for higher engagement.
- Don’t overuse: Too many flashy transitions can feel unprofessional.
- Combine with keyframes: Create custom motion + transition combos.
🔟 Common Problems & Fixes
| Problem | Cause | Solution |
|---|---|---|
| Transition too slow | Long duration | Reduce duration to 0.5–1 sec |
| Choppy playback | Low preview quality | Export to check smoothness |
| Transition missing | Clips not touching | Remove gap between clips |
| Direction feels wrong | Wrong direction setting | Change to match clip motion |
1️⃣1️⃣ Advanced Transition Tricks
- Match on Action: Cut where motion continues between clips, then apply a matching transition.
- Mask + Transition: Use masking to create custom scene reveals.
- Layered Transitions: Combine a zoom transition with a speed ramp for cinematic effects.
1️⃣2️⃣ Final Thoughts
Transitions in CapCut aren’t just visual add-ons — they’re storytelling tools. When used purposefully and in moderation, they can transform a basic edit into a professional-looking production.
Master these steps, experiment with styles, and you’ll be editing smoother, faster, and with more creativity than 90% of casual editors.


