
How to Create the Manga Neon Clones Effect in CapCut 2026
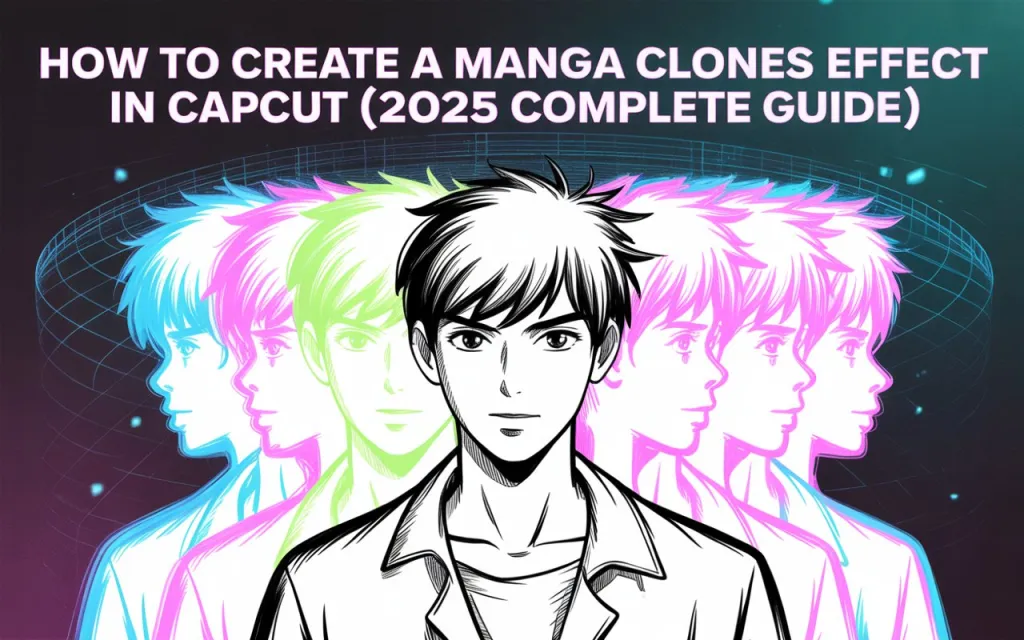
This effect combines a few techniques into one striking look: duplicating your subject so multiple versions appear on screen, applying neon glow and manga-style graphic touches to each, and timing the clones’ movement and glow to the beat or action of your footage. It’s a manual build rather than a single built-in filter, but every piece of it uses tools CapCut already has — duplicated layers, masking, keyframes, and blend modes.
Why This Effect Works Well
Clones plus neon glow is genuinely eye-catching, and it suits anime-style edits, gaming intros, music videos, and social reels particularly well. Since it’s built entirely from CapCut’s standard duplicate, mask, blend, and effects tools, it’s achievable on both mobile and desktop — and because you’re building it manually, you have real creative control over neon color choices, how many clones appear, and how tightly it syncs to music. If CapCut’s built-in body effects aren’t being detected on your subject, see our troubleshooting guide for body glow, wings, and AI effects.
Step-by-Step Guide
1. Import your footage. Start a new project and import a clip of your subject moving, performing, or posing — something with a clear, isolated subject works best for clean cloning. Trim it down to the portion you actually want to use.
2. Duplicate the subject layer. Duplicate your video track so you have two or more identical clips stacked on top of each other — one for your base subject and one or more for the clones. Align them to start at the same point, or offset them slightly if you want a staggered entrance.
3. Position and vary each clone. On each duplicate layer, use keyframes or animation to reposition the subject — one staying centered, one shifting left, one shifting right, for example. Slight scale or rotation differences between clones add visual variety. Masking lets you control exactly when and how each clone appears or disappears, so you could have your original stay static while a duplicate enters from one side with its neon treatment applied.
4. Apply the neon/manga styling. On your clone layers, push brightness, contrast, and saturation up to make the subject pop, and apply a glow or neon-style filter if one’s available. If you want a stronger glow without a dedicated filter, duplicate the layer again, apply heavy blur, set the blend mode to Screen or Overlay, and reduce opacity — this builds a halo effect manually. Comic-style overlays (halftone textures, speed lines, panel-style graphics) set to Overlay, Screen, or Lighten blend modes help tie the manga aesthetic together.
5. Sync timing to the beat. Import your audio and identify a beat drop or action moment to trigger the clone reveal. Time your clone entries, glow pulses, and mask reveals to land exactly on that beat using keyframes, and consider adding a zoom, shake, or flash transition right as the clones appear to add extra impact.
6. Build out the background. A manga-style background — speed lines, comic panel art, a neon grid — placed beneath your subject layers reinforces the aesthetic. Subtle background movement or a camera pan adds life, and light leaks or particle effects layered above the subject can add a final layer of polish.
7. Final adjustments and export. Color grade across all your layers so the clones, background, and overlays read as one cohesive scene rather than separately edited pieces. A vignette, film grain, or soft glow can help tie the whole thing together visually. Export at 1080p or higher, 30–60fps, with a high enough bitrate that the neon outlines don’t degrade — and preview on your actual target device to check that glow edges look clean and clones are properly aligned.
Creative Variations
Staggering clones so they appear one after another on different beats, rather than all at once, tends to read as more dynamic than a simultaneous reveal. Giving each clone a different neon color (blue, pink, green) adds visual variety without extra complexity. Zooming the whole clone stack slightly during the reveal can add drama. A freeze-frame right before the reveal, unfreezing on the beat as the clones appear, is a strong way to punctuate the moment. If you’d rather not build every layer from scratch, CapCut’s template section is worth searching for existing clone-effect templates you can adapt to your own footage. Masking clones so they emerge from behind an object or background panel adds another layer of visual interest if you want to push the technique further.
Common Problems & Fixes
| Problem | Cause | Fix |
|---|---|---|
| Clone layers misaligned | Duplicate layers not synced to the same start point | Align the playhead precisely and split clips at the exact same frame |
| Neon glow looks weak | Glow settings too subtle, or overlay opacity too low | Increase glow intensity, or duplicate the glow layer and stack it |
| Edges look jittery or messy | Rough masking, or movement that isn’t properly keyframed | Smooth out keyframes, add feathering to masks, refine the motion path |
| Background distracts from clones | Background too bright or visually busy | Lower background brightness/contrast, or simplify to a plainer neon grid or panel design |
| Export loses glow clarity | Low resolution or heavy compression | Export at higher resolution with lower compression, and avoid extreme zooming that stresses the glow edges |


