
How to Create an Aura Effect in CapCut (2026 Complete Guide)
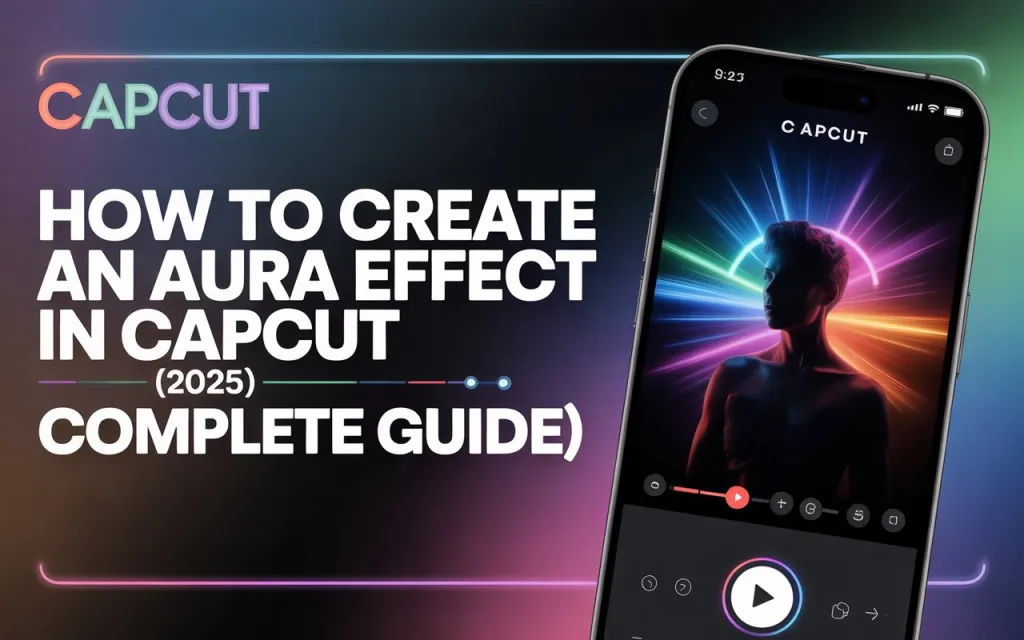
The aura effect surrounds a subject with a glowing halo or energy field — a common device in anime edits, power-up moments, and gaming highlight reels. It’s built entirely from CapCut’s duplication, masking, glow, and blend mode tools, no external compositing software required.
What This Effect Involves
A visible halo or radial glow around the subject, a color tint (neon blue, red, gold, or purple depending on the mood you’re going for), some motion or pulse to the glow to simulate energy, and enough integration into the scene that it reads as part of the shot rather than a flat overlay slapped on top.
Why Use It
It’s genuinely eye-catching, which matters for grabbing attention on short-form platforms. It suits anime edits, character intros, and gaming highlights particularly well, and it’s fully achievable without expensive software — just CapCut, mobile or desktop. It’s also flexible: color, glow strength, and motion intensity are all adjustable to fit your specific style.
Step-by-Step Guide
1. Import your clip. Choose footage where your subject is clearly visible, ideally with some movement or a dynamic pose, and trim to the section where you’ll apply the effect.
2. Duplicate the layer. The duplicate becomes your glow layer, built on top of the original, which stays as your base subject detail.
3. Mask the subject, for a cleaner result (optional). On the duplicate layer, apply a mask — freehand, ellipse, or rectangle, depending on your subject’s shape — and trace around them. Add feathering (roughly 10–20px is a reasonable starting point, adjusted for your resolution) so the glow blends smoothly rather than showing a hard edge. If your subject moves significantly, keyframe the mask to follow them.
4. Build the glow. On your masked duplicate layer, increase brightness, contrast, and saturation so it reads clearly. Adding a blur (and optionally duplicating again to intensify it) softens the layer into more of a genuine glow halo. Set the layer’s blend mode to Screen, Overlay, or Lighten so it blends with the scene rather than obscuring it, and choose an aura color — adjusting hue or tint if that control is available — to match your theme.
5. Add motion or a pulse. Keyframing scale or opacity on the glow layer — for example, cycling from 100% to around 103% and back over half a second to a second — creates a subtle pulsing effect rather than a static glow. A shake, flash, or light leak overlay right as the aura kicks in adds drama to the moment it appears, and a radial blur or light burst effect at the very start of the aura can punctuate the reveal further.
6. Sync to sound. A power-up sound, a hum, or a glow-burst sound effect timed to when the aura appears adds real impact. Aligning the start of your aura keyframes with that audio cue — and making sure the whole thing lines up with the subject’s movement and the scene’s overall energy — ties the effect together.
7. Final touches and export. Grading the whole clip — reducing ambient brightness slightly, for instance — helps the aura pop more by contrast. Light leaks, particles, or sparkle overlays above the subject, blended with Screen or Overlay, can add extra polish. Export at 1080p or higher, 30–60fps, with a high bitrate to keep the glow looking clean rather than degraded, and preview on your actual target device before finalizing.
Pro Tips & Variations
Masking only the outer edge of the subject — their silhouette — while leaving the interior untouched creates a more dramatic glowing rim rather than a full-body glow. Shifting the aura’s color partway through an edit (blue to gold, for example) can suggest a transformation or a build in power. Freezing on a strong pose and applying a burst of aura right at that frozen moment makes for a dramatic reveal. Combining the aura with speed lines, a comic-panel-style background, and bold outlines pushes the effect toward a full manga aesthetic. Adding a glitch distortion right before the aura appears can lean the whole effect toward a more tech or sci-fi tone. And if you’d rather not build it from scratch, CapCut’s template library is worth searching for existing aura-style templates to adapt with your own footage.
Common Problems & Fixes
| Problem | Cause | Fix |
|---|---|---|
| Glow looks flat or too subtle | Brightness/contrast too low, or no blend mode applied | Increase brightness and contrast, and set the layer’s blend mode to Screen or Overlay |
| Mask edges look harsh | Feathering too low, or motion not tracked | Increase feathering, and add keyframes so the mask follows any subject movement |
| Aura color doesn’t match the scene | Color tone mismatch between the glow and the footage | Adjust the glow layer’s hue/tint, or color grade the overall scene to match |
| Subject looks too blurry | Blur applied too heavily to the glow layer | Use a more moderate blur, and make sure the base subject layer underneath stays sharp |
| Aura effect looks weaker or missing after export | Low export resolution/bitrate, or an unsupported effect | Export at a higher resolution and bitrate, and check that the effect is fully supported in your export settings |


