
How to Create Custom Animations in CapCut with Keyframes
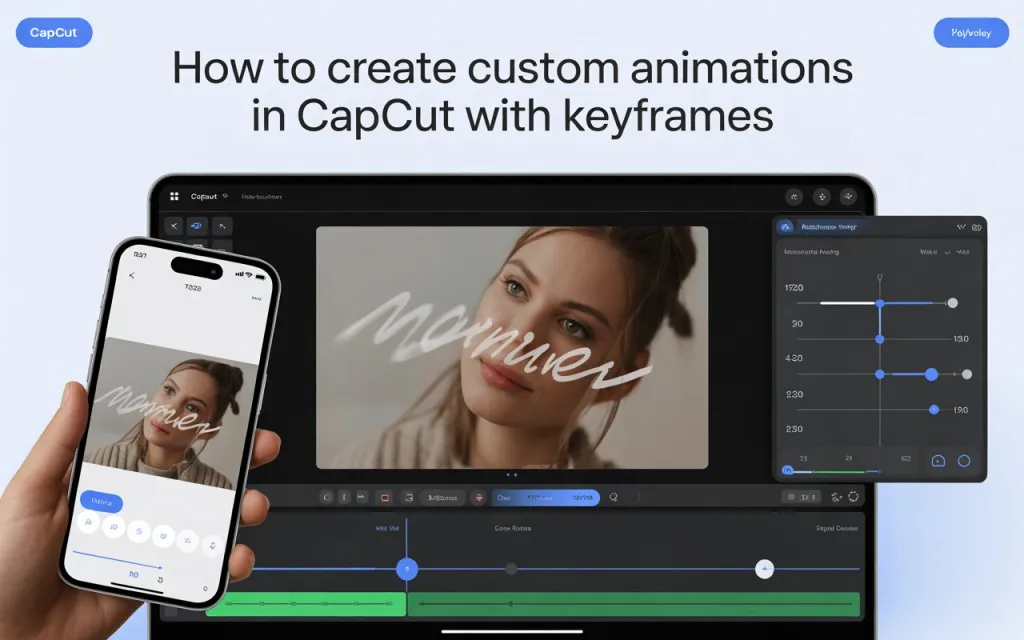
Keyframes let you set a property — position, scale, rotation, opacity — at a specific point in time, and CapCut automatically animates the transition between multiple keyframes. This is how you build genuinely custom motion rather than relying only on preset animations.
What Keyframes Actually Do
Set a property’s value at one point in the timeline, move to another point, change the value again — CapCut interpolates everything in between automatically. This gives full manual control over motion without needing external animation software, and it’s what makes effects like zoom-ins, pans, rotations, and fades feel deliberate rather than mechanical.
Using Keyframes on Mobile
- New Project → import your video or image.
- Select the clip and find the Keyframe icon — a small diamond above the timeline once a clip is selected.
- Move the playhead to your starting point → tap Add Keyframe → set the property (scale, position, rotation, etc.).
- Move the playhead to a new point → add another keyframe with different values.
- Preview — CapCut animates the transition between your keyframes automatically. Adjust timing or values until the motion feels smooth.
- Export at 1080p or 4K once satisfied.
Using Keyframes on Desktop
- Import your media and drag it onto the timeline.
- Select the clip → Animation tab → Custom.
- Use the keyframe shortcut (commonly the
Kkey or the diamond icon) to add keyframes at specific timeline positions. - Adjust scale, rotation, opacity, or position at each keyframe.
- Preview the motion and adjust timing or easing curves for smoother results — desktop generally gives more precise control over exactly how a transition between keyframes accelerates or decelerates than mobile does.
Getting Better Results
Plan the motion before you start keyframing. A rough mental (or literal sketched) idea of what you want the movement to look like saves a lot of trial-and-error compared to setting keyframes and hoping it works out.
Combine multiple properties for more dynamic motion. Position, scale, and rotation changing together reads as more sophisticated than any single property animating alone.
Add easing rather than leaving transitions linear. Linear motion between keyframes tends to look mechanical — easing (accelerating into and decelerating out of a movement) is what makes keyframed animation feel closer to how real motion behaves.
Learn the keyboard shortcut on desktop if you’re doing this regularly — it meaningfully speeds up the workflow compared to reaching for the icon every time.
Start from a template if you’re learning. CapCut’s template library includes pre-built animated effects — studying how an existing template’s keyframes are structured (where they’re placed, how properties change) is a genuinely useful way to learn the technique before building fully custom animations from scratch.
Sync animation timing to audio beats where relevant — a zoom or rotation landing exactly on a beat reads as far more intentional than the same motion happening at an arbitrary point.
Use clear, high-resolution source footage. Motion is much easier to read clearly on sharp footage — keyframed animation on a blurry or low-res clip tends to look muddled regardless of how well the keyframes themselves are set.
Common Uses
Eye-catching zoom or reveal effects for TikTok-style content, smooth pans and rotations for YouTube intros or transitions, and any effect where a preset doesn’t quite match what a specific piece of content calls for.


