
Resolution and Aspect Ratio in CapCut: A Practical Guide
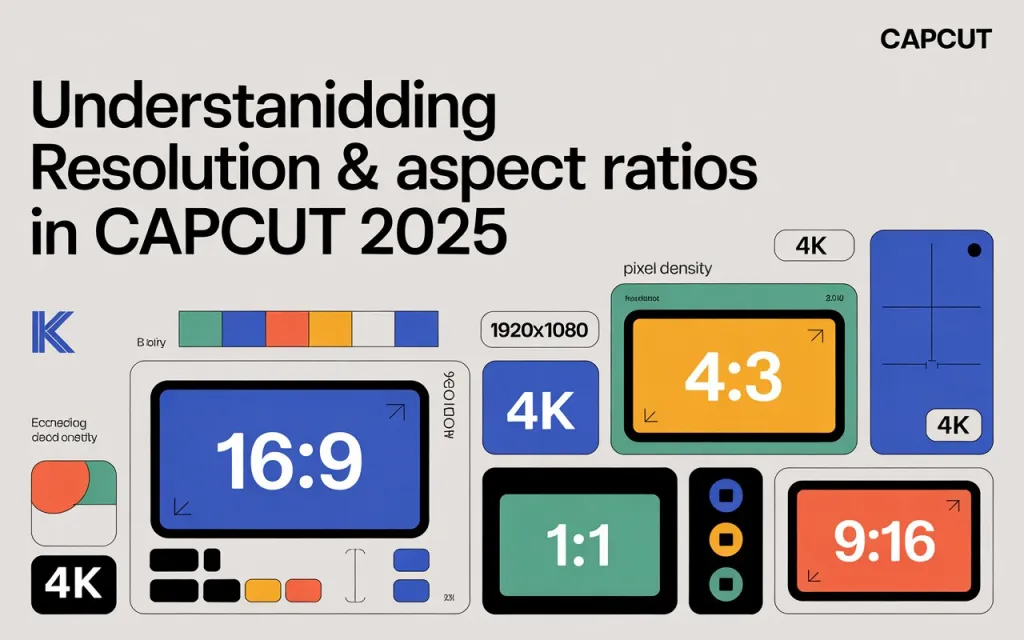
Resolution and aspect ratio in CapCut affect how your video actually looks once it’s on a platform — get either wrong and you end up with cropping, black bars, or unnecessary quality loss regardless of how good the edit itself is.
Resolution: How Much Detail Your Video Has
Resolution is the pixel count of your frame — more pixels means more detail and sharper visuals, within the limits of your source footage.
| Resolution | Dimensions | Typical use |
|---|---|---|
| 720p (HD) | 1280×720 | Quick uploads, mobile-first viewing |
| 1080p (Full HD) | 1920×1080 | The safe default for YouTube, TikTok, Instagram |
| 2K/1440p | 2560×1440 | Higher-detail professional content |
| 4K (Ultra HD) | 3840×2160 | High-end content, larger-screen viewing |
Why it matters beyond “sharper is better”: platforms like TikTok and Instagram compress video on upload regardless of what you send them. Starting from a higher resolution gives that compression more to work with, so the post-compression result holds up better — this is the practical reason to export at 1080p even for platforms that will shrink the file anyway, not just about how it looks before upload.
Aspect Ratio: How Your Video Fits the Screen
Aspect ratio is the width-to-height proportion of your frame, and it determines whether your video fills the screen properly or gets cropped/letterboxed.
| Ratio | Format | Typical use |
|---|---|---|
| 9:16 | Vertical | TikTok, Instagram Reels, YouTube Shorts |
| 16:9 | Horizontal/landscape | Standard YouTube, Facebook video |
| 1:1 | Square | Instagram feed posts |
| 4:5 | Portrait | Instagram feed, slightly taller than square |
| 21:9 | Cinematic widescreen | Film-style content |
Getting this wrong is the most common cause of unwanted black bars or cropped content — a horizontal video dropped into a 9:16 canvas doesn’t just look wrong, it actively loses usable screen space on the platform it’s most likely to be viewed on.
Setting Resolution and Aspect Ratio on Mobile
- New Project → import your clips.
- Tap Canvas in the bottom toolbar → choose your ratio (9:16, 16:9, 1:1, etc.).
- Reposition clips within the new canvas using pinch-zoom as needed — changing the canvas doesn’t automatically reframe your existing footage.
- Tap Export → choose resolution (720p, 1080p, 4K) and frame rate (30fps or 60fps, matching your platform’s typical expectations) → export or share directly.
Setting Resolution and Aspect Ratio on Desktop
- New Project → import your clips.
- Click Canvas in the right panel → choose a preset ratio or enter custom dimensions.
- Adjust clip positioning in the preview window to fit the new canvas properly.
- Click Export → select resolution (1080p is a reasonable default for most platforms) and frame rate (30fps for standard content, 60fps for gaming/action footage) → export in MP4 for the broadest compatibility.
Practical Tips
- Choose your ratio based on the platform first, not the other way around — decide where the video is going before you start framing shots.
- Avoid stretching clips to force-fit a ratio — use CapCut’s crop/fit tools instead, since stretching distorts the image in a way that’s usually more noticeable than cropping.
- Start with high-resolution source footage. Upscaling low-resolution footage doesn’t recover detail that was never captured — resolution decisions matter most at the point of recording, not just export.
- Keep aspect ratio consistent across a multi-part series for visual continuity between related videos.
- Preview before exporting, ideally on more than one device, to catch cropping or letterboxing issues before they’re in a finished, uploaded file.
- CapCut supports building multi-aspect versions of the same project for cross-platform posting — worth doing deliberately rather than exporting once and hoping it displays acceptably everywhere.
Example Workflow: Gaming Montage for TikTok
Record gameplay at 1080p → CapCut Mobile → New Project → set Canvas to 9:16 → add effects, text, and transitions → preview specifically in the vertical format to confirm important elements (HUD, key gameplay moments) aren’t cropped out → export at 1080p, 60fps for gameplay smoothness → upload.


