
CapCut Photo Montage Tutorial: Make Aesthetic Slideshows
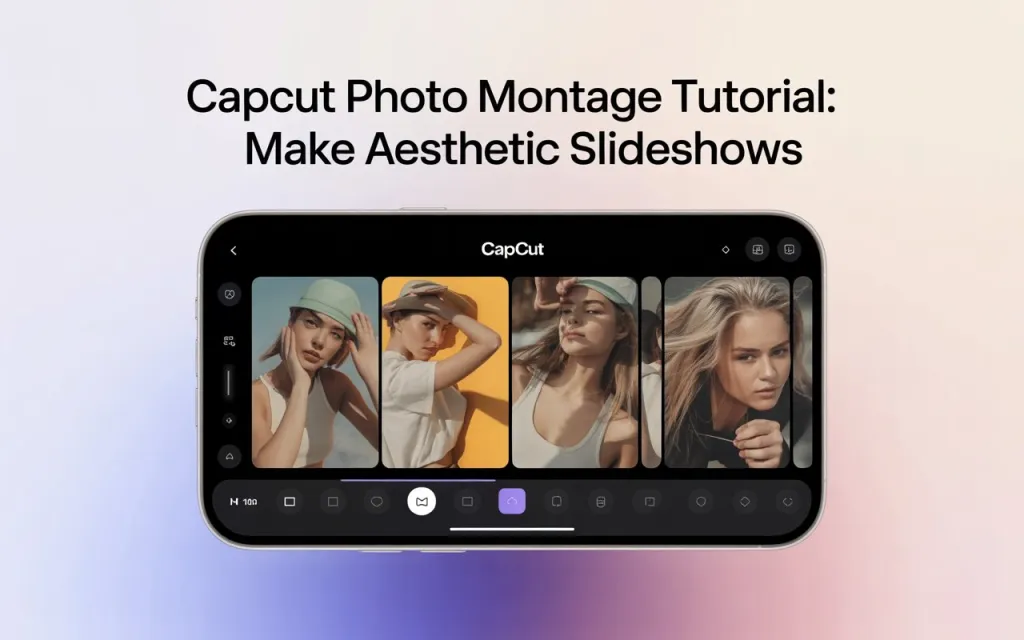
A photo montage is one of the most beautiful and trending editing styles used in TikTok, Instagram Reels, and YouTube Shorts. With CapCut, you can turn a collection of your pictures into a smooth, aesthetic, cinematic, or dynamic slideshow — even if you have zero editing experience.
This complete guide teaches you step-by-step how to make a photo montage in CapCut, including advanced transitions, zooms, beats, filters, 3D effects, and export tips.
Let’s start.
What Is a CapCut Photo Montage?
A photo montage is a series of photos arranged in a specific order with:
- Transitions
- Effects
- Zoom animations
- Beats
- Filters
- Text overlays
- Music sync
It creates a beautiful slideshow-style video, perfect for:
- Travel highlights
- Birthday edits
- Couple reels
- Friendship memories
- Family videos
- Aesthetic collections
- Before/After edits
- Fashion lookbooks
CapCut makes this process extremely easy, even for beginners.
Why CapCut Is Perfect for Photo Montage Editing
CapCut is now the No.1 editing tool for photo montages because of:
- Automatic photo animation
- Smooth transitions
- Beat sync tool
- AI-enhanced filters
- 3D zoom effects
- Motion blur
- Easy social media export
- High-quality 1080p & 4K rendering
No other free app offers this flexibility.
How to Make a Photo Montage in CapCut (Step-by-Step)
Below is the complete tutorial for creating a professional montage.
Step 1: Open CapCut and Create a New Project
- Launch CapCut
- Tap New Project
- Select all the photos you want in your montage
- Click Add
Tip: Choose 9–30 photos for the best flow.
Step 2: Arrange the Photos in Order
You can drag and drop your photos to arrange them in:
- Chronological order
- Aesthetic/Color order
- Story flow
Good storytelling improves montage quality.
Step 3: Adjust Photo Duration
Default photo duration is around 2 seconds, but for montage style:
Recommended duration:
- 0.6–1.2 seconds per photo for fast montages
- 1.5–2.5 seconds for emotional/cinematic edits
To change duration:
- Tap a photo
- Click Duration
- Set preferred length
- Tap Apply to All
Step 4: Add Zoom Animation (The “Ken Burns” Effect)
This creates movement in photos.
Steps:
- Select photo
- Tap Animation
- Choose In or Out
- Select Zoom In or Zoom Out
Alternate zoom directions for variety.
Step 5: Add Smooth Transitions
Transitions connect photos in a seamless way.
Popular transitions:
- Dissolve
- Zoom
- Spin
- Wipe
- Slide
- Flash
Apply them between each photo.
For aesthetic montages:
Use Dissolve or Slide.
For dynamic montages:
Use Flash, Zoom, or Spin.
Step 6: Sync Your Montage with Music Beats
Beat syncing makes the montage flow perfectly with music.
Steps:
- Tap Audio
- Choose a song (local, extracted, or CapCut library)
- Tap Match Cut
- Add beat markers manually OR auto beat sync
Place photo changes on beats for a clean rhythm.
Step 7: Apply Cinematic Filters and Color Correction
Good color grading increases montage quality.
Try these filters:
- Life (warm travel look)
- Food (vivid tones)
- Classic (90s film look)
- Retro (aesthetic filter)
- VHS (nostalgic edit)
- BW (black & white cinematic)
Or manually adjust:
- Exposure
- Contrast
- Highlights
- Saturation
- Temperature
Keep colors consistent across photos.
Step 8: Add 3D Zoom to Highlight Photos
CapCut’s 3D Zoom effect makes ordinary images look dynamic.
Steps:
- Tap photo
- Choose Style
- Select 3D Zoom or 3D Zoom Pro
Use it for special moments or emotional scenes.
Step 9: Add Text or Titles (Optional But Powerful)
Texts help explain or enhance your montage.
Ideas:
- “Best Memories of 2024”
- “Trip to Dubai”
- “Happy Birthday”
- “Friends Forever”
- “Our Journey ❤️”
Use aesthetic fonts:
- Serif
- Minimalist
- Handwritten
Add shadows for readability.
Step 10: Add Overlays for Aesthetic Vibes
Overlays add cinematic style.
Try:
- Dust particles
- Light leaks
- Glitch effects
- Film grain
- Sparkles
- Bokeh overlays
Set blending mode to:
- Overlay
- Screen
- Soft Light
Adjust opacity for subtle elegance.
Step 11: Add Motion Blur for Smooth Movement
Motion blur removes choppiness in zoom or slide animations.
Steps:
- Tap your transition
- Enable Motion Blur (if available)
It creates professional-level smoothness.
Step 12: Use Keyframes for Advanced Animation (Optional)
Keyframes allow custom movement:
- Pan across images
- Slow zooms
- Rotation effects
Example:
- Add a keyframe at the start
- Zoom or pan at the end
- CapCut creates movement automatically
Great for cinematic montages.
Step 13: Add Background for Vertical Photos
If your photos are not full-screen:
- Add blur background
- Add a gradient color
- Add aesthetic shadow frames
- Add white borders (for clean Instagram look)
Step 14: Preview and Fine-Tune Your Montage
Watch your montage from beginning to end.
Adjust:
- Timing
- Beats
- Transitions
- Filters
- Text placement
- Animation smoothness
Polishing increases quality a lot.
Step 15: Export in High Quality
Best settings:
- 1080p or 4K
- 60fps (for smooth animations)
- Bitrate: 8–20 Mbps
This ensures your montage looks perfect on TikTok or Instagram.
Pro Tips to Make Your CapCut Montage Go Viral
Here are professional tricks to make your montage stand out:
1. Use the Same Theme and Color Palette
Example:
- Warm tones for travel
- Pastel colors for aesthetic edits
- High contrast for fashion
2. Maintain Rhythm
Each photo should hit a beat or lyric.
3. Use Minimal Text
Too much text ruins the flow.
4. Alternate Animations
Don’t use the same zoom direction every time.
5. Use High-Quality Photos Only
Blurry images reduce montage quality.
6. Add Noise/Film Grain
Gives a cinematic film look.
7. Use trending songs
Boosts engagement and reach.
8. Use 3D Zoom sparingly
Only for highlight photos.
Common Mistakes to Avoid
- Using too many transitions
- Random animations with no rhythm
- Over-saturation
- Very long duration
- Low-quality photos
- No beat sync
- Inconsistent filters
Keep the montage simple and aesthetic.
Final Thoughts
Creating a photo montage in CapCut is easy, fun, and incredibly flexible. Whether you’re editing emotional memories, birthday reels, or trendy TikTok slideshows, CapCut gives you all the tools — zoom animations, beat sync, filters, transitions, overlays, and 3D effects — to create professional-level montages.
By following the steps above and applying the expert tips, you can create stunning, viral-worthy montages in just a few minutes.


