
How to use ChatGPT plugin for CapCut to create AI videos?
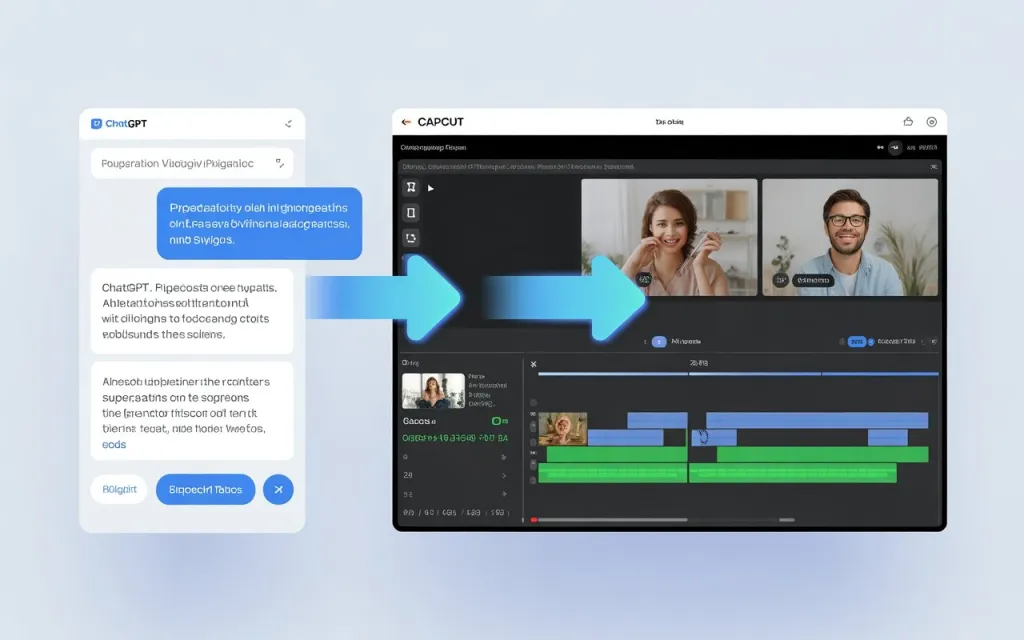
Pairing ChatGPT’s text generation with CapCut’s AI video tools can take you from a rough idea to a finished script to an assembled video considerably faster than doing each step manually. Note upfront: AI tool integrations like this change quickly, so treat the specific menu names and steps below as a general workflow rather than something guaranteed to match exactly what you see in either app today.
What This Combination Offers
ChatGPT is useful for generating ideas, scripts, voiceover lines, and captions. CapCut takes a script and turns it into assembled scenes, adds music, and automates a good portion of the editing. Together, they meaningfully cut down the time between an idea and a finished draft, which is useful for YouTubers, Reels creators, educators, and marketers producing content regularly.
What You’ll Need
Access to ChatGPT (the specific plan tier required for this kind of integration has shifted over time as OpenAI’s product has evolved, so check current requirements directly rather than assuming a specific tier), access to CapCut’s web editor, a basic familiarity with text-to-video workflows generally, and an internet connection for the AI generation steps. Your own footage or background music is optional but useful if you don’t want to rely entirely on generated visuals.
Step-by-Step Guide
1. Find and connect the CapCut integration in ChatGPT. In ChatGPT, look for CapCut under the GPTs or Apps section (this replaced the older standalone “Plugin Store” system, so if you’re following an older guide referencing plugins specifically, expect the actual menu names to look different now). Search for CapCut, connect your account if prompted, and make sure web access permissions are enabled if the integration needs them. If you can’t find it through this route, you can still get most of the value manually — generate your script in ChatGPT as normal, then paste it directly into CapCut Web’s AI video tools.
2. Generate your script. Give ChatGPT a clear, specific prompt — for example, asking for a 60-second script about a specific topic, including scene breakdowns, captions, and a call to action. Review what it generates and refine it until the tone and length fit your platform. You can also ask it directly for voiceover text, title ideas, or caption hooks as separate follow-up requests.
3. Turn the script into a video in CapCut. In CapCut Web, look for their AI/text-to-video generation tools and paste in your script. You’ll typically be able to choose a visual style (cinematic, vlog, educational, product review), an aspect ratio matching your platform, and a voiceover option. Once generated, CapCut will match visuals to your text, add transitions and subtitles, and sync everything to the voiceover timing automatically. Review the result and make manual adjustments before exporting — AI-generated first drafts are rarely exactly right on the first pass.
4. Polish the video in CapCut’s full editor. Once you have a base video, open it in CapCut’s standard editor to add custom transitions or animations, adjust color grading, replace or mix in different background music, add overlays or branding, and sync any b-roll more precisely with the narration. Beat sync, masking tools, and auto captions are all worth using at this stage if they suit your content.
5. Export and publish. Export at 1080p or 4K, with 30fps for a more cinematic feel or 60fps for smoother motion, then upload to your platform of choice. ChatGPT is also useful here for drafting SEO-friendly titles and descriptions once the video itself is done.
Getting Better Results from ChatGPT Prompts
Specificity in your prompt matters more than almost anything else. Asking for “a script about CapCut” gives you something generic; asking for “a 1-minute script explaining how AI filters work in CapCut, aimed at beginners, with a friendly tone” gives you something usable. The same applies whether you’re generating a social media script, a product demo, or an educational tutorial — the more context and constraints you give ChatGPT up front, the less editing you’ll need to do afterward. It’s also worth explicitly asking ChatGPT to add emotion, pacing notes, or camera direction to a script, since a plain narrative script often needs that extra layer to translate well into CapCut’s scene generation.
Common Problems & Fixes
| Problem | Reason | Fix |
|---|---|---|
| Can’t find the CapCut integration in ChatGPT | Availability varies by region or account type | Fall back to the manual workflow — generate your script in ChatGPT, then paste it into CapCut Web directly |
| Generated footage looks low-quality or generic | Limited AI-generated asset variety for your topic | Replace specific clips manually in CapCut with your own or licensed footage |
| Audio out of sync with visuals | Script paced too fast for the generated scenes | Adjust timing manually in CapCut’s editor after generation |
| Exported video looks blurry | Export bitrate too low | Export at 1080p or higher with a solid bitrate setting |
| Video feels generic or unfocused | Prompt was too vague | Rewrite the prompt with more specific direction — tone, structure, and concrete details all help |
Combining Tools for Specific Results
A ChatGPT-written script paired with CapCut’s auto captions works well for quick social videos. Detailed scene descriptions from ChatGPT paired with CapCut’s stock footage library can approximate a short film structure. Strong hook lines from ChatGPT paired with CapCut’s text animations suit fast-paced Reels. And ChatGPT-generated translations paired with CapCut’s subtitle tools is a reasonable way to produce multilingual versions of the same content without redoing the whole edit from scratch.


