
How to Make the Mesmerizing Eye Glow Effect in Anime Videos Using CapCut
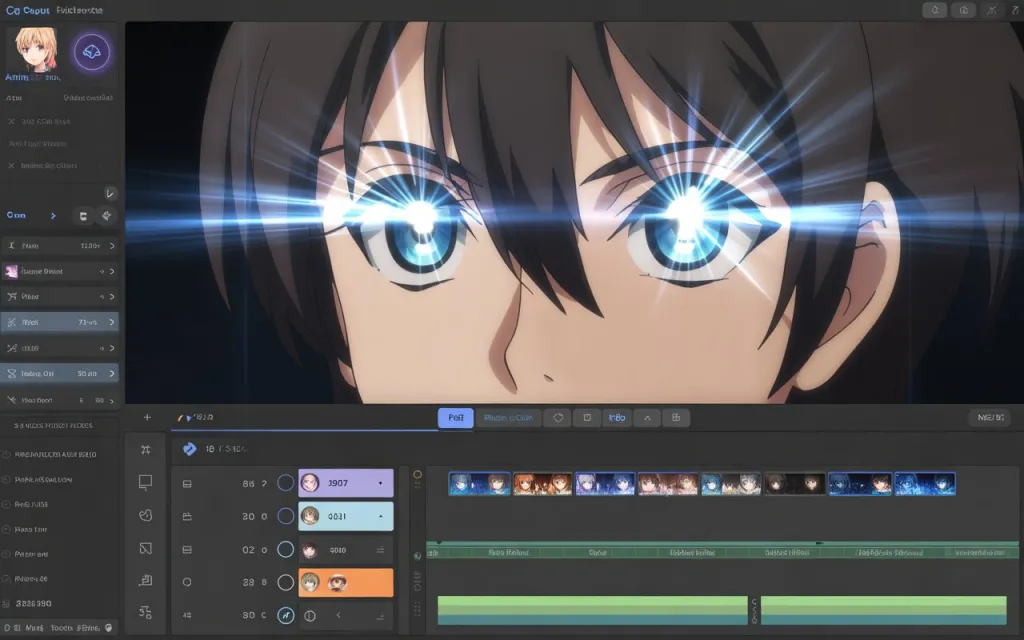
The eye glow effect — making a character’s eyes appear to light up or shine dramatically — is a common device in anime-style edits for power-up moments, supernatural reveals, or emotionally intense close-ups. It’s built from layering, masking, and glow/blend techniques CapCut already has, no external compositing software needed.
Why Use This Effect
It draws immediate attention to a character’s face and expression, which makes it effective for reveals, transformations, or any moment you want to punctuate visually. It adds a cinematic or supernatural quality well suited to AMVs and character intros, and it works on both still frames and moving footage.
Step-by-Step Guide
1. Import your clip. Bring in your footage where the character’s eyes are clearly visible, and identify the specific moment you want the glow to begin — a power-up beat, a transition, a dramatic gaze.
2. Duplicate the clip. This duplicate layer will become your glow layer, separate from the original footage beneath it.
3. Zoom in slightly, if it helps emphasis (optional). Scaling the duplicate layer up modestly — somewhere around 110–120% — or using a crop/pan-zoom effect can help the eyes fill more of the frame and read more clearly.
4. Mask the eye area. On your duplicate layer, apply a freehand or ellipse mask around the eyes, and add feathering so the glow blends naturally rather than showing a hard edge. If the character moves or turns during the clip, keyframe the mask’s position and size so it tracks the eyes throughout.
5. Apply the glow. With the masked layer selected, increase brightness, contrast, and saturation to make the area pop, and apply a glow or soft-light effect if one’s available. For a stronger halo effect, duplicate the layer again, apply a heavy Gaussian blur to the new copy, set its blend mode to Screen or Add, and reduce opacity — this builds a genuine glow rather than just a brightened area. Pick a glow color that fits the mood — bright white, neon blue, red, or gold all read differently depending on the tone you’re going for — and set the blend mode (Overlay, Screen, or Lighten all work) so it interacts naturally with the footage underneath rather than sitting flatly on top.
6. Animate the glow, for more impact (optional). Keyframing the glow’s intensity — starting small, building to a peak, holding briefly, then fading — reads as more dramatic than an instant on/off. Animating the mask itself to expand slightly can create a subtle pulsing effect. A quick flash or light burst overlay timed to the glow’s peak moment adds extra punch.
7. Add supporting overlays and sound. A small lens flare, light leak, or particle overlay above the glow layer, set to a Screen or Overlay blend mode, adds extra atmosphere. A sound effect — a high-pitched hum, a power-up sound, a spark — timed to the glow moment does a lot to sell the effect. Grading the whole scene to support the glow (dimming ambient brightness or pushing contrast up) helps it stand out further against the rest of the frame.
8. Export. 1080p or higher (4K if your source supports it) keeps the mask edges and glow looking clean rather than degraded. 30–60fps depending on how much motion is in the scene, with a bitrate high enough to avoid artifacts forming around the glow specifically. Preview on your actual target device to confirm the glow reads crisply and the mask is tracking properly throughout.
Advanced Variations
Shifting the glow’s color partway through the animation (white to gold to red, for example) can suggest a sense of power building or evolving. Overlaying a beam or laser-style PNG extending outward from the masked eyes, animated to travel outward, pushes the effect further for a more dramatic “eye laser” look. Timing a hard cut to land right as the glow peaks — transitioning into a new form or scene right at that moment — is a common way to use the glow as a reveal device rather than just a standalone effect. Briefly dimming the background right as the eyes glow makes the glow itself read as brighter by contrast. For two characters glowing simultaneously, a synchronized split-screen treatment can add dramatic tension between them. And if you’d rather not build the effect from scratch, CapCut’s template library is worth searching for existing eye-glow-style templates to adapt.
Common Problems & Fixes
| Problem | Cause | Fix |
|---|---|---|
| Glow looks detached or fake | Mask edges too harsh, or misaligned with the eyes | Increase feathering, refine the mask path, and keyframe it to follow any movement |
| Quality drops around the eyes | Zoomed in too far, or source resolution too low | Use higher-resolution source footage, and keep zoom modest (around 110–120%) |
| Glow doesn’t stand out | Background too bright or too close in color to the glow | Lower background brightness/contrast, or choose a glow color that contrasts more with the scene |
| Mask doesn’t track subject motion | Mask position stayed static while the subject moved | Keyframe the mask’s position and scale to follow the subject’s motion |
| Export shows artifacts or excessive blur | Bitrate too low, or blur effect too heavy | Export at higher quality, and reduce blur intensity to balance glow against overall clarity |


