
How to Create a Stuck Frame Effect in CapCut — A Complete 2026 Guide
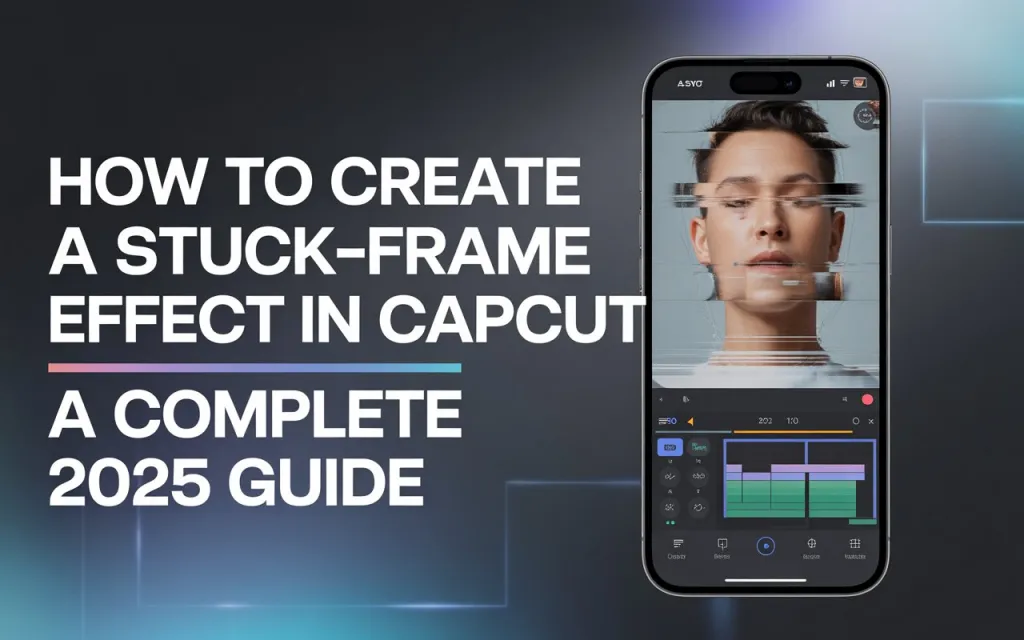
A stuck frame effect in CapCut — holding a single frame static while the audio or story continues around it — is a common way to emphasize a moment: a jump, a reaction, an object mid-drop. It reads as more stylized than a plain freeze-frame, often paired with a zoom, a shake, or a beat-synced hit to give it real impact.
[FILL IN: a real screenshot of a frozen frame segment on the timeline, or a note on which CapCut version this was last tested on]
What Makes This Different From a Basic Freeze-Frame
A stuck-frame holds a moment longer than the natural motion would, while everything else — audio, story momentum — keeps going. It’s less “pause the video” and more a deliberate stylistic beat, often layered with subtle movement (a slow zoom, a slight shake) even while the main subject stays still. It works well as a hook, a transition point, or simply a way to punctuate a specific moment.
Why Use It
Holding on a moment — a reaction, a jump, an impact — emphasizes it in a way continuous motion doesn’t. Timing the freeze to a beat drop or a key line of dialogue lets the visual pause reinforce the audio moment. It can also double as a stylish transition into the next scene, and on short-form content specifically, an unexpected pause tends to catch viewer attention.
Step-by-Step Guide
1. Import your clip and find your frame. Bring your footage into a new project, play through it, and identify the exact frame you want to hold — a peak expression, the top of a jump, whatever moment you want to emphasize.
2. Split the clip and apply the freeze. Move the playhead to that frame and split the clip there. Apply Freeze Frame (or Frame Hold, depending on your CapCut version) to that segment. Set the hold duration — somewhere in the 0.5 to 2 second range is a reasonable starting point; too short and the effect barely registers, too long and it can lose momentum. Adjust based on how the specific moment feels.
3. Add subtle motion during the freeze, if you want it (optional). A frozen frame doesn’t have to be completely static — a slight zoom (scaling from 100% to around 105% over the hold, for example) or a light shake via keyframes can keep the freeze from feeling too flat, while the subject itself still reads as “stuck.”
4. Resume motion or transition out. Split again after your freeze segment and let the clip continue naturally, or cut to your next scene. A speed ramp (slowing into the freeze, then speeding back up out of it) or a small fade/zoom transition tends to make the resumption feel smoother than a hard cut back to normal speed.
5. Fine-tune audio and effects. If you’re syncing to music, align the exact start of the freeze with the beat drop. A sound effect at the freeze moment — a whoosh, a hit, a distinct “pause” sound — adds to the cinematic feel. Color grading or a light overlay (film grain, a vignette, subtle motion blur at the edges) during the freeze can help highlight the moment further.
6. Export. 1080p or 4K at 30–60fps is a safe default. Preview on your actual phone to judge whether the hold length feels right and whether the transition in and out of the freeze reads as smooth.
Advanced Variations
A sequence of short freezes in quick succession, rather than one longer hold, can build a rhythmic, fast-cut feel — useful for music-driven edits. Reversing the clip’s motion right after the freeze adds a dramatic, almost rewind-like effect to the next beat. For a more advanced look, duplicating your subject onto its own layer lets you freeze just the subject while the background keeps moving or blurring, which reads as more sophisticated than freezing the whole frame. Speed ramping into and out of the freeze — slowing down beforehand, then speeding back up after — heightens the sense of impact. And using the freeze itself as a transition point (freezing the end of one clip, then cutting directly to the start of the next) works well for surprise-cut style edits.
Common Problems & Fixes
| Problem | Fix |
|---|---|
| Freeze holds too long and loses viewer interest | Shorten to roughly 0.5–1 second, or add subtle motion (zoom, shake) during the hold to keep it dynamic |
| Frozen frame looks blurry or pixelated | Make sure your source footage is high resolution to begin with, export at high quality, and avoid heavy zooming during the freeze unless your source can support it |
| Audio and freeze timing feel misaligned | Adjust the playhead so the freeze lands exactly on the beat or action point, and preview a few times to confirm |
| Transition out of the freeze feels jarring | Add a small fade or scale-out at the end of the freeze, and try to match motion speed between the frozen segment and what follows |
| Background motion still visible when it shouldn’t be | If you want the subject frozen but the background still moving, duplicate the subject onto its own layer and apply the freeze there only, leaving the background layer animated |


