
How to Export CapCut Captions/Subtitles as SRT or TXT
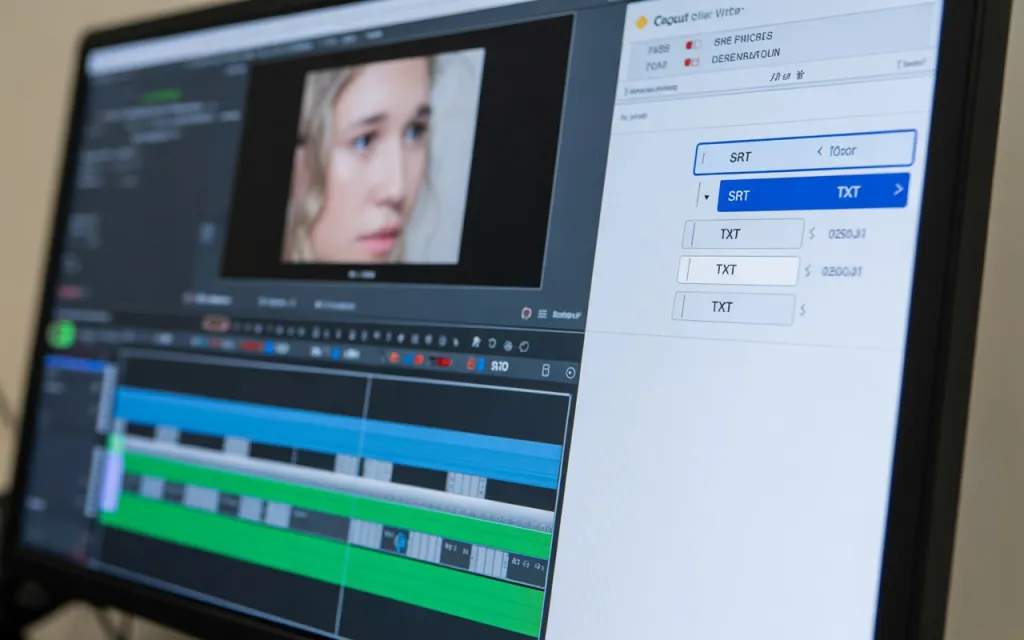
If you’ve used CapCut’s Auto Captions and want the subtitles as a standalone file — to upload to YouTube, translate, or reuse elsewhere — here’s how, and where the mobile app genuinely can’t do it directly.
SRT vs. TXT — Which One You Actually Need
SRT (SubRip) includes timestamps alongside the text, and is what YouTube, Vimeo, and most video platforms expect for uploaded captions. TXT is plain text with no timing data — useful for editing a script, translating content, or reviewing wording, but not directly uploadable as captions anywhere. If you’re uploading captions to a platform, you need SRT; if you’re just repurposing the words, TXT is simpler to work with.
Exporting on CapCut Desktop (The Only Platform With Direct Export)
- Open your project with Auto Captions or manually added subtitles.
- Left toolbar → Text → Auto Captions — this shows all your subtitle lines with timecodes.
- Find the Export option in the Auto Captions panel (typically top-right) → choose Export Subtitles (.srt) or Export Text (.txt).
- Choose a save location — CapCut generates the file immediately.
- Upload the .srt directly to YouTube/platforms that accept caption files, or open the .txt in any text editor for review/editing.
Name the file clearly (matching your video title) before uploading — this makes it easier to track which caption file belongs to which video once you have more than a couple.
Mobile Doesn’t Export Directly — Here’s the Actual Workaround
CapCut Mobile has no built-in SRT/TXT export function. This isn’t a bug or a missing setting to find — it’s a genuine feature gap between mobile and desktop. Two real options:
Sync to Desktop (best for SRT). Save your mobile project via CapCut Cloud Sync, open the same project in CapCut Desktop, then export using the steps above. This is the only reliable way to get a proper timestamped SRT file if you started on mobile.
Manual copy (TXT only, no timestamps). Open Auto Captions on mobile, tap each subtitle line → Copy Text, and paste into a notes app or document. This works for getting the words out but produces no timing data — it’s a script, not a captions file, and won’t function as an SRT substitute if a platform specifically requires timestamps.
Exporting on CapCut Web
- Log into the CapCut Web Editor and open your project (or upload a video and generate captions there).
- Use Auto Captions to generate subtitles if you haven’t already.
- Open the “…” (More) menu in the Captions panel → Export Captions → choose SRT or TXT.
- Save to your computer.
Exported SRT files import cleanly into YouTube Studio (Subtitles → Upload SRT), Premiere Pro (Captions Panel → Import SRT), and DaVinci Resolve or Final Cut Pro’s subtitle tracks.
Editing an SRT File Before You Use It
SRT files are plain text with a specific structure — timestamp, then the text line, repeated for each caption block. You can open one in any text editor and:
- Adjust timestamps if sync is slightly off
- Fix transcription errors from Auto Captions (it’s accurate but not perfect)
- Translate lines for a different-language version
- Add non-speech tags like [MUSIC] or [APPLAUSE] where relevant
Save the file after editing and it’s ready to upload — no special software needed beyond a plain text editor.
Troubleshooting
| Issue | Fix |
|---|---|
| Export option not showing | Update CapCut Desktop — older versions may not have this feature yet |
| Captions export incomplete | Confirm all captions are finalized/saved in the project before exporting, not still mid-generation |
| Exported file is in the wrong language | Change the Auto Caption language setting before generating, not after — regenerating is required, editing the exported file’s language tag won’t fix mistranscribed audio |
| SRT doesn’t sync correctly after import | Check for a frame rate or timeline mismatch between the original project and wherever you’re importing it |


