
🎧 How to Reverb a Song Using CapCut? – Slowed Music Effect (2026 Guide)
Introduction
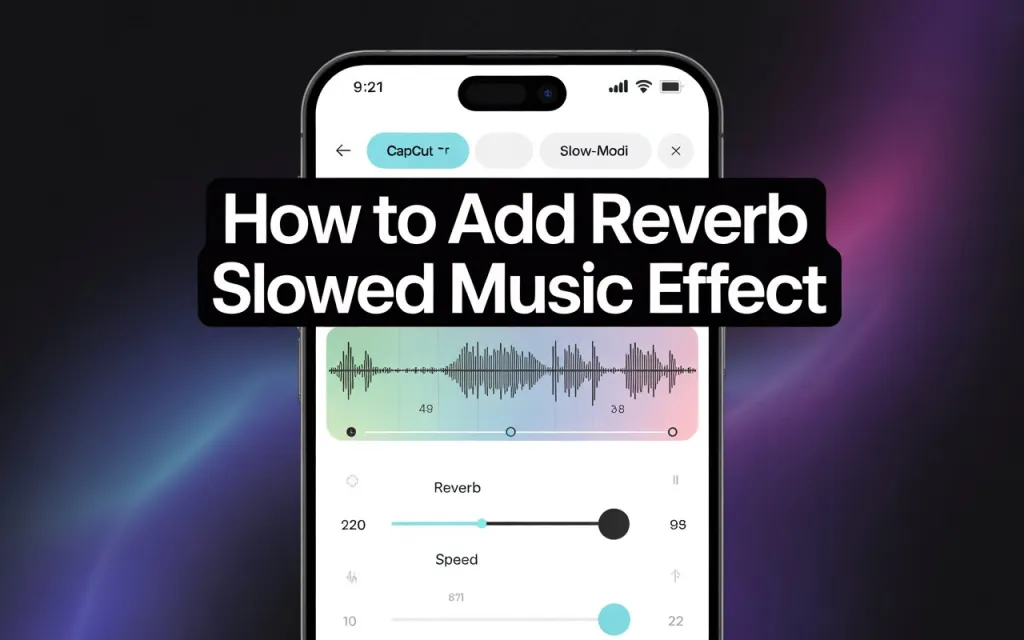
The “slowed + reverb” sound — a track slowed to roughly 0.75x-0.85x with added reverb for a dreamy, spacious feel — is a well-established TikTok/Reels editing style. CapCut can do the whole thing natively, no separate audio software needed.
A Note on Music Rights Before You Start
Slowing down and adding reverb to a song doesn’t change its copyright status — it’s still the original rights holder’s work. This matters most if you plan to monetize the video or use it commercially: check whether the track is cleared for that use (CapCut’s own licensed library, or a track you have rights to) rather than assuming a slowed/reverbed version of a copyrighted song is automatically fair use. For personal or non-monetized posts this is less of a practical concern, but worth knowing either way.
Step 1: Import Your Audio
Open CapCut, start a new project, and tap Add Audio → From Device, or Extract Sound from Video if you’re pulling audio from an existing clip. Higher-quality source audio (320kbps MP3/M4A or better) produces a noticeably cleaner reverb result than a heavily compressed file — reverb tends to amplify existing audio artifacts rather than mask them.
Step 2: Slow the Track Down
Select the audio track → Speed → set between 0.75x and 0.85x for the classic slowed feel. Play it back and adjust by ear rather than locking to a fixed number — the “right” speed depends on the original tempo of the track. As a rough guide: 0.90x for a subtle effect, down to 0.70x for a heavier, more dramatic slow.
Step 3: Apply Reverb
Tap the audio track → Effects → Audio Effects → Reverb, and choose a preset based on the mood you’re after:
- Echo Hall — cinematic, emotional edits
- Studio Reverb — balanced, works for speech or soft music without overwhelming it
- Large Room — dramatic, pairs well with slow-motion visuals
- Dream Space — aesthetic/chill edits
Adjust the intensity slider and preview against your slowed track — the right intensity varies by song, and what sounds good on a sparse acoustic track will likely be too much on something already dense.
Step 4: Balance the Mix
- Fade in: roughly 1.5-2 seconds
- Fade out: roughly 1.5-2.5 seconds
- Overall volume: lower by 10-20% for a softer, more ambient feel rather than a hard-edged loop
This keeps the track from starting or ending abruptly, which matters more on a slowed/reverbed track than a normal-speed one since the effect itself already softens the sound.
Step 5: Match Your Visuals to the Sound
The effect lands better when the visuals reinforce the mood rather than just playing under it: slow-motion footage, flash or glitch transitions timed to beat drops, darker/moody color grades, and lyric or quote text overlays in a fitting font all reinforce the same emotional register the audio is going for.
Step 6: Export
Export at 1080p or 4K, 60fps if your footage supports it, for the cleanest result on TikTok, Shorts, or Reels.
Starting Points by Style
These are reasonable starting settings, not fixed rules — adjust based on the specific track:
| Style | Speed | Reverb | Suggested filter |
|---|---|---|---|
| Night drive edit | 0.80x | Dream Space | Cool/moody tone |
| Emotional scene | 0.75x | Echo Hall | Warm film tone |
| Aesthetic transition | 0.85x | Studio | Retro/faded tone |
| Lofi chill edit | 0.90x | Small Room | Soft pastel tone |
Common Issues
| Problem | Fix |
|---|---|
| Reverb effect not applying | Update CapCut — older versions occasionally drop specific audio effects |
| Audio sounds distorted | Lower reverb intensity, or the speed reduction — pushing both to their extremes simultaneously is a common cause of muddiness |
| Visuals and audio drift out of sync | Adjust timeline alignment manually rather than assuming the speed change auto-corrects sync |
| Exported audio sounds flat | Check for an HQ export setting in CapCut’s export options before assuming the effect itself is the problem |
Practical Tips
- Shorter reverb suits faster beats; longer, more spacious reverb suits slower emotional edits — matching reverb length to tempo matters more than picking the “best” preset.
- Too much reverb specifically distorts vocals first — if a vocal-heavy track sounds muddy, that’s usually where to pull back.
- Mix with headphones if possible — reverb depth is easy to misjudge on phone speakers.


