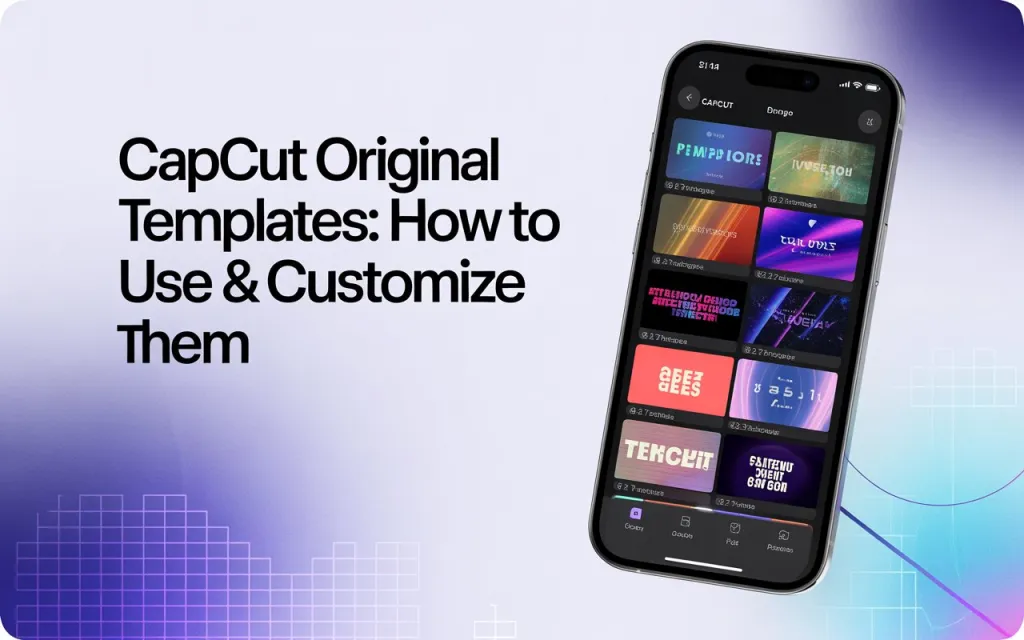
CapCut Original Templates: How to Use & Customize Them
If you spend any time on TikTok, Reels, or YouTube Shorts, you’ve seen edits built from CapCut’s Original Templates — official, pre-built editing modules with polished transitions, beat-synced effects, and animations already baked in. They’re one of the fastest ways to produce a clean-looking edit, and customizing them well is what separates a generic template video from one that actually feels like yours.
What CapCut Original Templates Are
These are pre-made editing modules built by CapCut’s team, bundling things like auto-sync transitions, pre-built camera motions, sound effects, beat-sync timing, motion blur, 3D zoom, text animations, and trending filters into a single reusable package. Each one has a “Use template” button that swaps the template’s placeholder media for your own photos or videos, which is what makes them fast to work with even without timeline editing experience.
They’re popular for a few genuine reasons: the transitions tend to be smoother and more stable than something built from scratch quickly, many original templates ship with already-trending audio, they’re accessible to beginners without needing to learn manual timeline work, and CapCut adds new official templates on a regular basis.
How to Find Original Templates
In the app (Android/iOS): Open CapCut, go to Templates, and look for the “Original” or “CapCut Official” label. From there you can browse trending categories like Viral, Beat Sync, Photo Templates, AI Effects, 3D Edits, and Movie Styles, and tap any template to preview it before using it.
On CapCut Web: CapCut’s official template library is also browsable from a browser, and web templates work the same way on PC — you can build an edit and export it directly for TikTok or another platform.
How to Use a Template
1. Open the template you want and tap “Use template.”
2. Select your media. Templates specify how many clips or photos they need — this can range from a single clip to ten or more photos, or a mix of photos and short video clips.
3. Let CapCut apply the template. Once your media is in, transitions, effects, and beat sync apply automatically based on the template’s structure.
4. Customize as needed — text, fonts, colors, filters, clip order, background music, overlays, stickers, speed, and motion blur are all typically adjustable even within a template.
5. Export and share. Export at 1080p or 4K and upload to your platform of choice.
Customizing a Template So It Doesn’t Look Generic
Swapping in your own music — whether from your own library or CapCut’s — instead of the template default helps a video feel less like every other edit using the same template. Adding your own text, captions, or a short intro line personalizes it further. The order you place your photos in can meaningfully change the pacing and story the edit tells, so it’s worth experimenting rather than accepting the default order. A color grade — retro, cinematic, a soft warm tone, more vibrant colors, or a moodier film look — can shift the overall feel considerably. Light overlays like lens flares, light leaks, or bokeh can add polish without much effort, and manually adjusting speed or beat timing can tighten up sync that felt slightly off by default.
Common Template Categories
Velocity templates use fast-slow-fast motion for punchy transitions. 3D photo motion templates rely on parallax and depth effects for a sense of movement in still photos. Flash-and-shake templates suit beat-sync and dance content. Aesthetic slow-mo templates lean on soft transitions and pastel filters for a dreamier tone. Emotional or story-style templates are commonly used for relationship or friendship content. CapCut’s AI templates cover effects like aging filters, anime-style transformation, or caricature effects. Album and collage-style templates suit birthdays, travel, or highlight reels. And movie-style templates draw on more dramatic transitions and grading inspired by film.
Getting More Out of a Template Edit
A few things matter more than the template choice itself. Using audio that’s currently getting traction on your platform tends to matter more than the visual polish alone. Higher-resolution source photos and video avoid the blurriness that can undercut an otherwise well-built edit. Posting times genuinely do affect reach, but they vary by platform, audience, and region — rather than following a fixed universal schedule, it’s worth checking your own account’s analytics for when your specific audience is active. Staying within a consistent niche or theme (dance, travel, romantic edits, anime, etc.) tends to help build a more engaged following over time than one-off unrelated edits.
Creating Your Own Template
If you want to build something reusable in the same style: start a new project and build your full edit manually, including transitions, speed changes, overlays, and sound sync. Keep your media in clearly defined placeholder slots so others can swap in their own content easily. From there, you can upload it as a template — CapCut reviews and may feature templates that meet their guidelines — and share it so others can find and use it.